
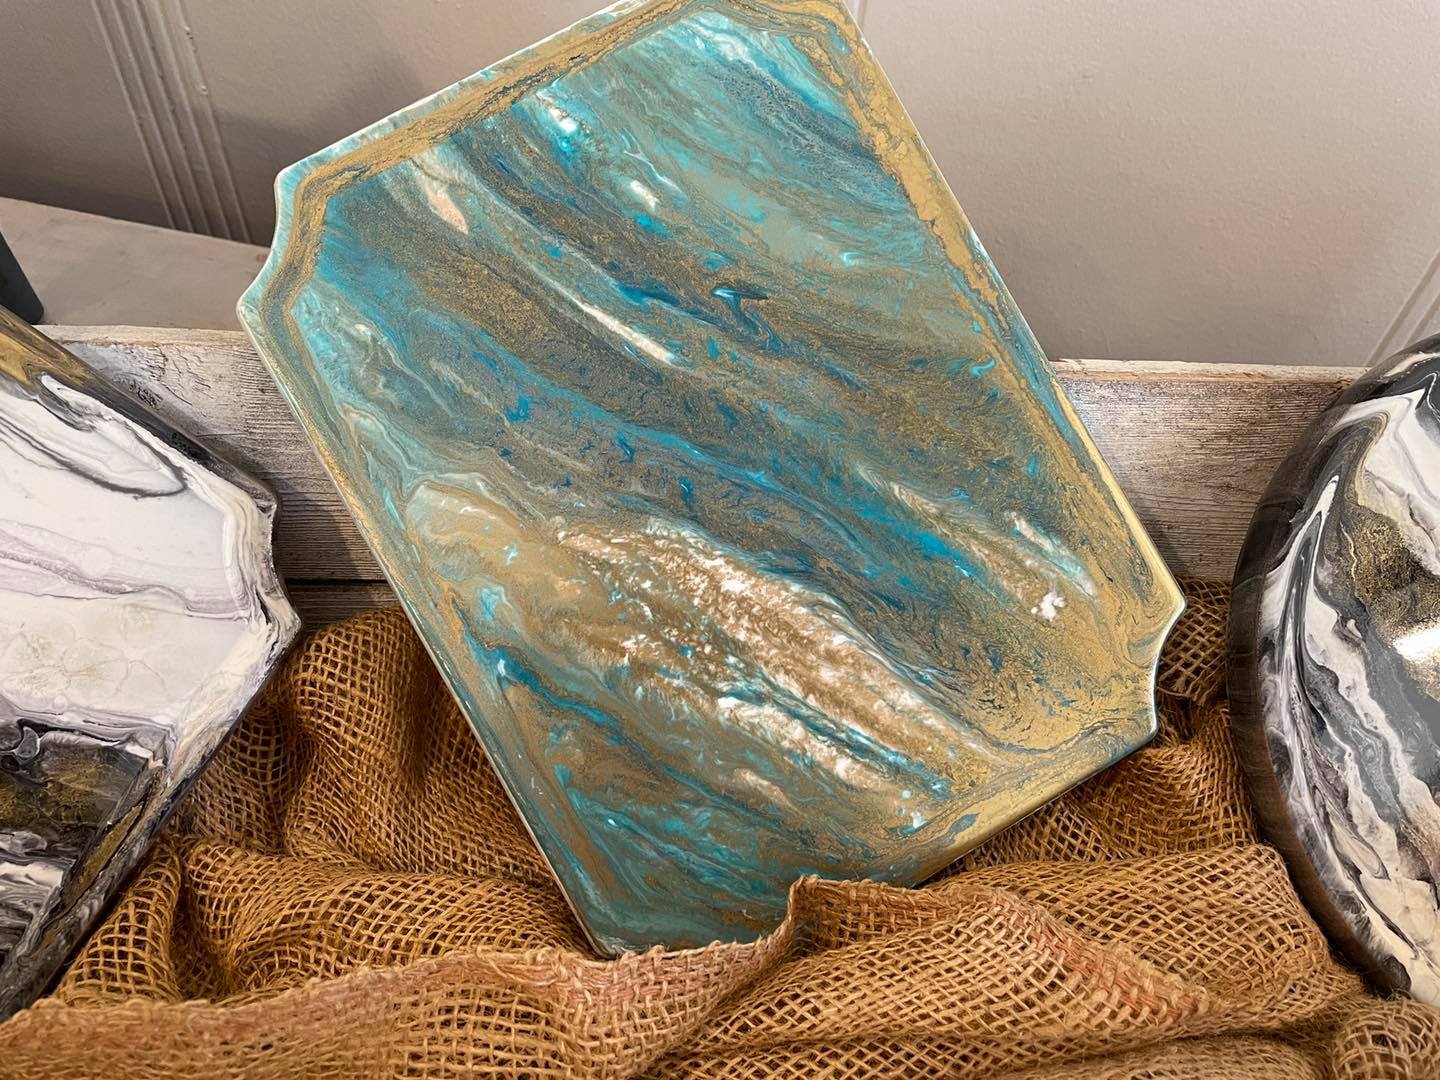
Beach Cheese Board 🌊
If you’ve been itching to try your hand at a resin project that’s equal parts fun and functional, a resin cheese board is the perfect place to start. Whether you call it a charcuterie board, snack board, or just a pretty piece of art for your kitchen, this project brings color, texture, and a bit of shimmer to your space. I'm walking you through the exact steps I used to create a gorgeous, layered resin look using just a few supplies and some acrylic paint.
Before anything else, make sure your work surface is completely level. Resin is a self-leveling medium, which means if your table is even slightly tilted, it can cause the resin to pool or run off one side. I used a few popsicle sticks under the legs of my tray to adjust things until it was perfectly level.
With the setup ready, it’s time to mix the resin. For this board, I used a total of 4 ounces—2 ounces of resin and 2 ounces of hardener. Be sure to measure carefully and stir for a full three minutes to ensure it cures properly. A helpful tip for beginners: pour the resin and hardener into separate measuring cups first, then combine them into one for the final mix.
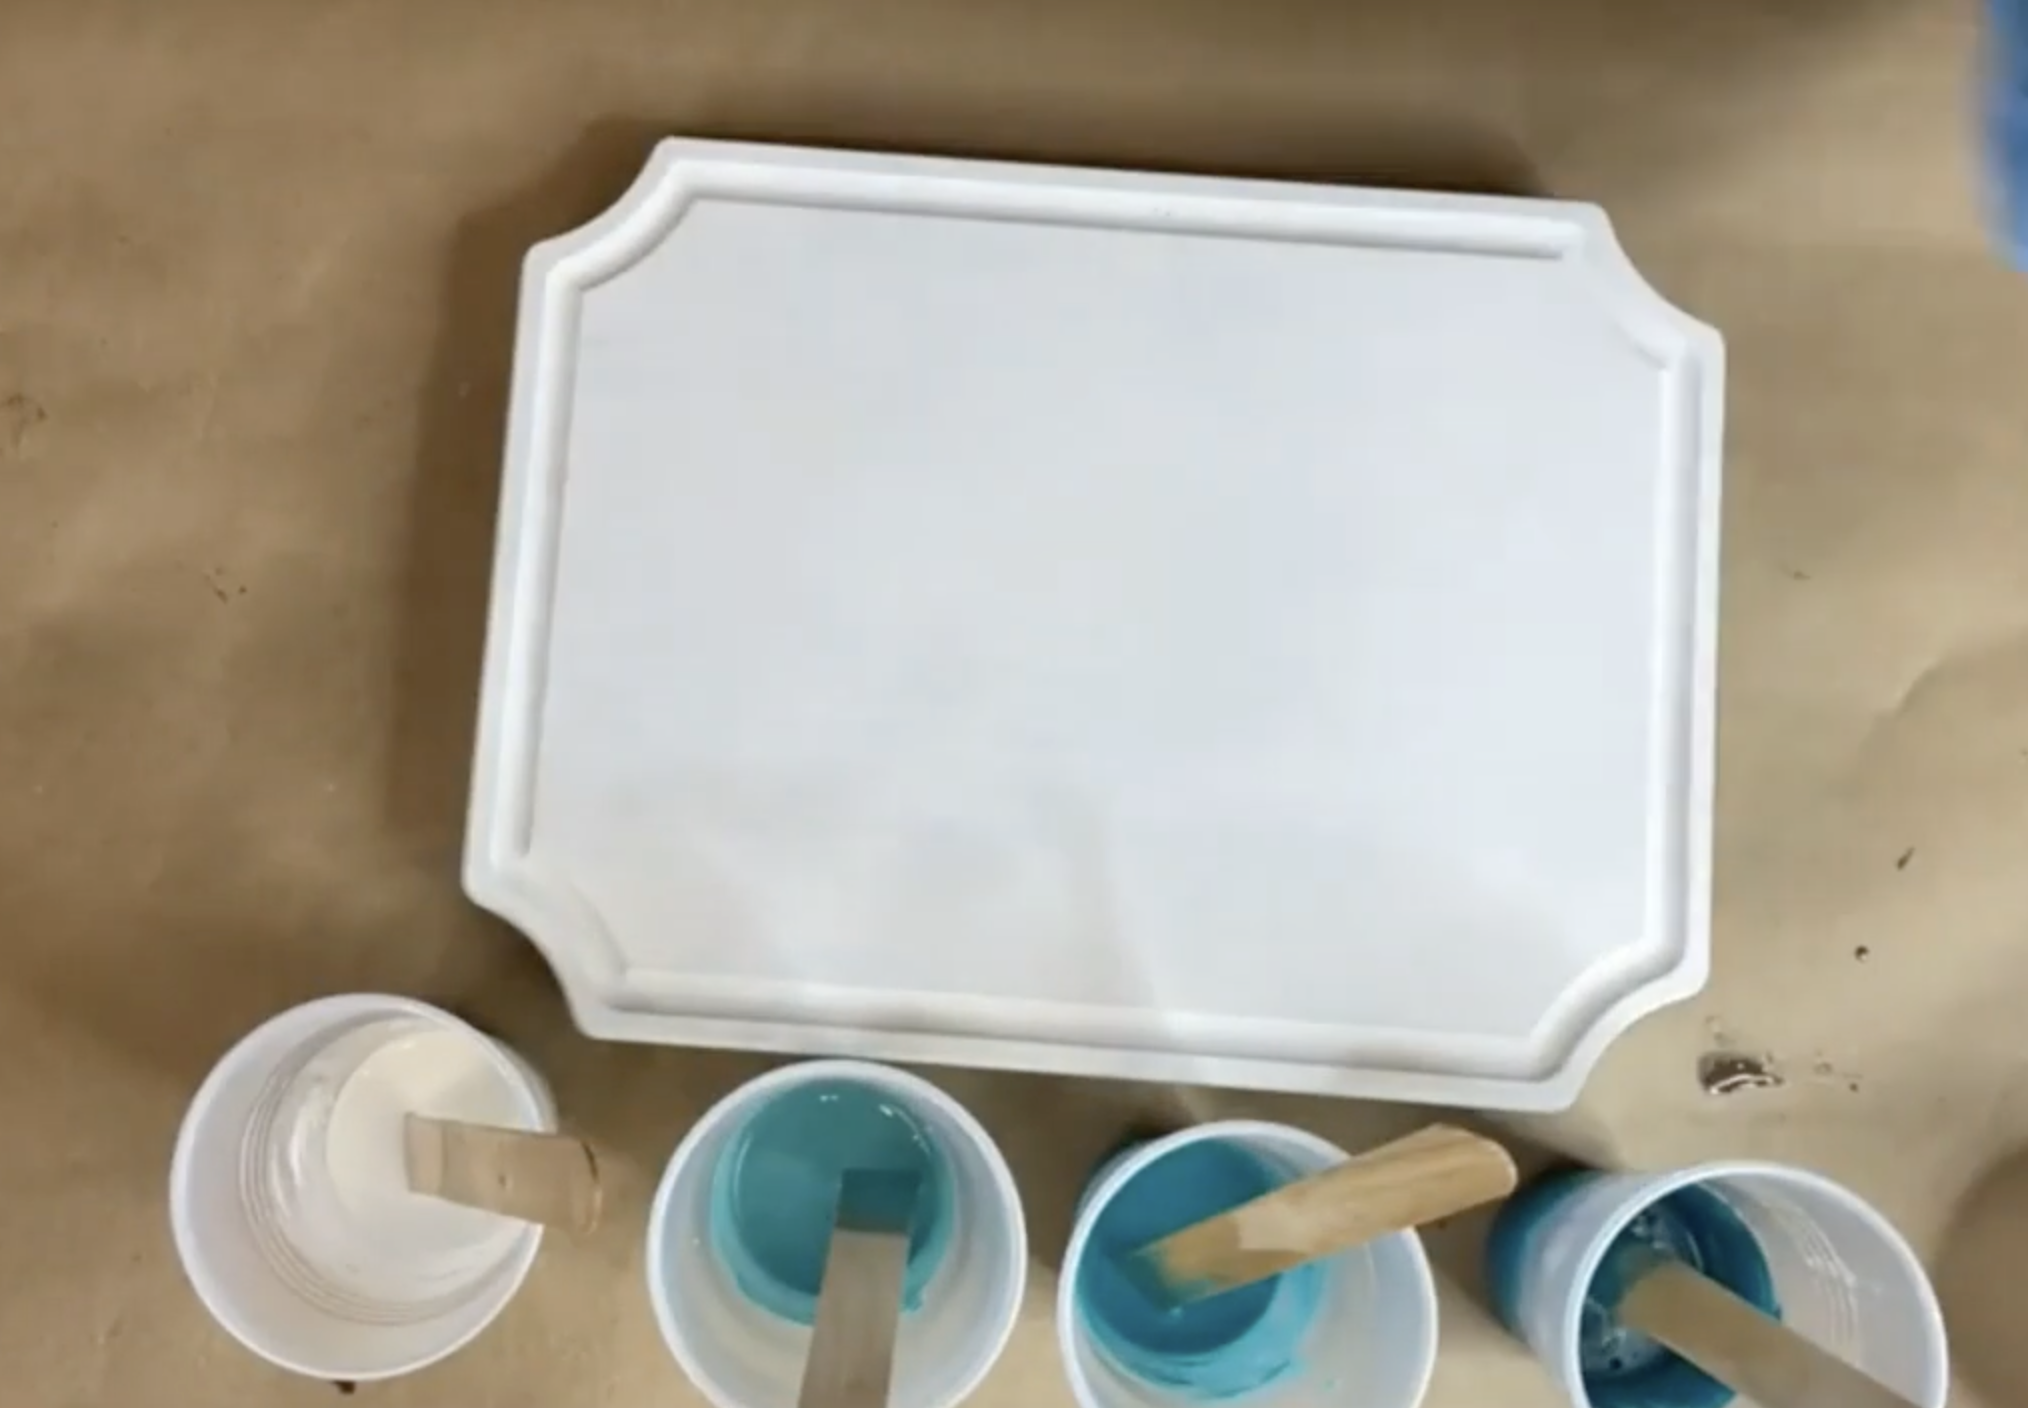
Next, divide the mixed resin into four small cups. The largest amount will be tinted white (about a tablespoon of acrylic paint), which serves as the base. Then, in the remaining three cups, add various shades of blue—light, medium, and a dark metallic teal. Mix each color thoroughly. If the resin feels a little thick, especially the metallic, a drop or two of denatured alcohol can help loosen it up.
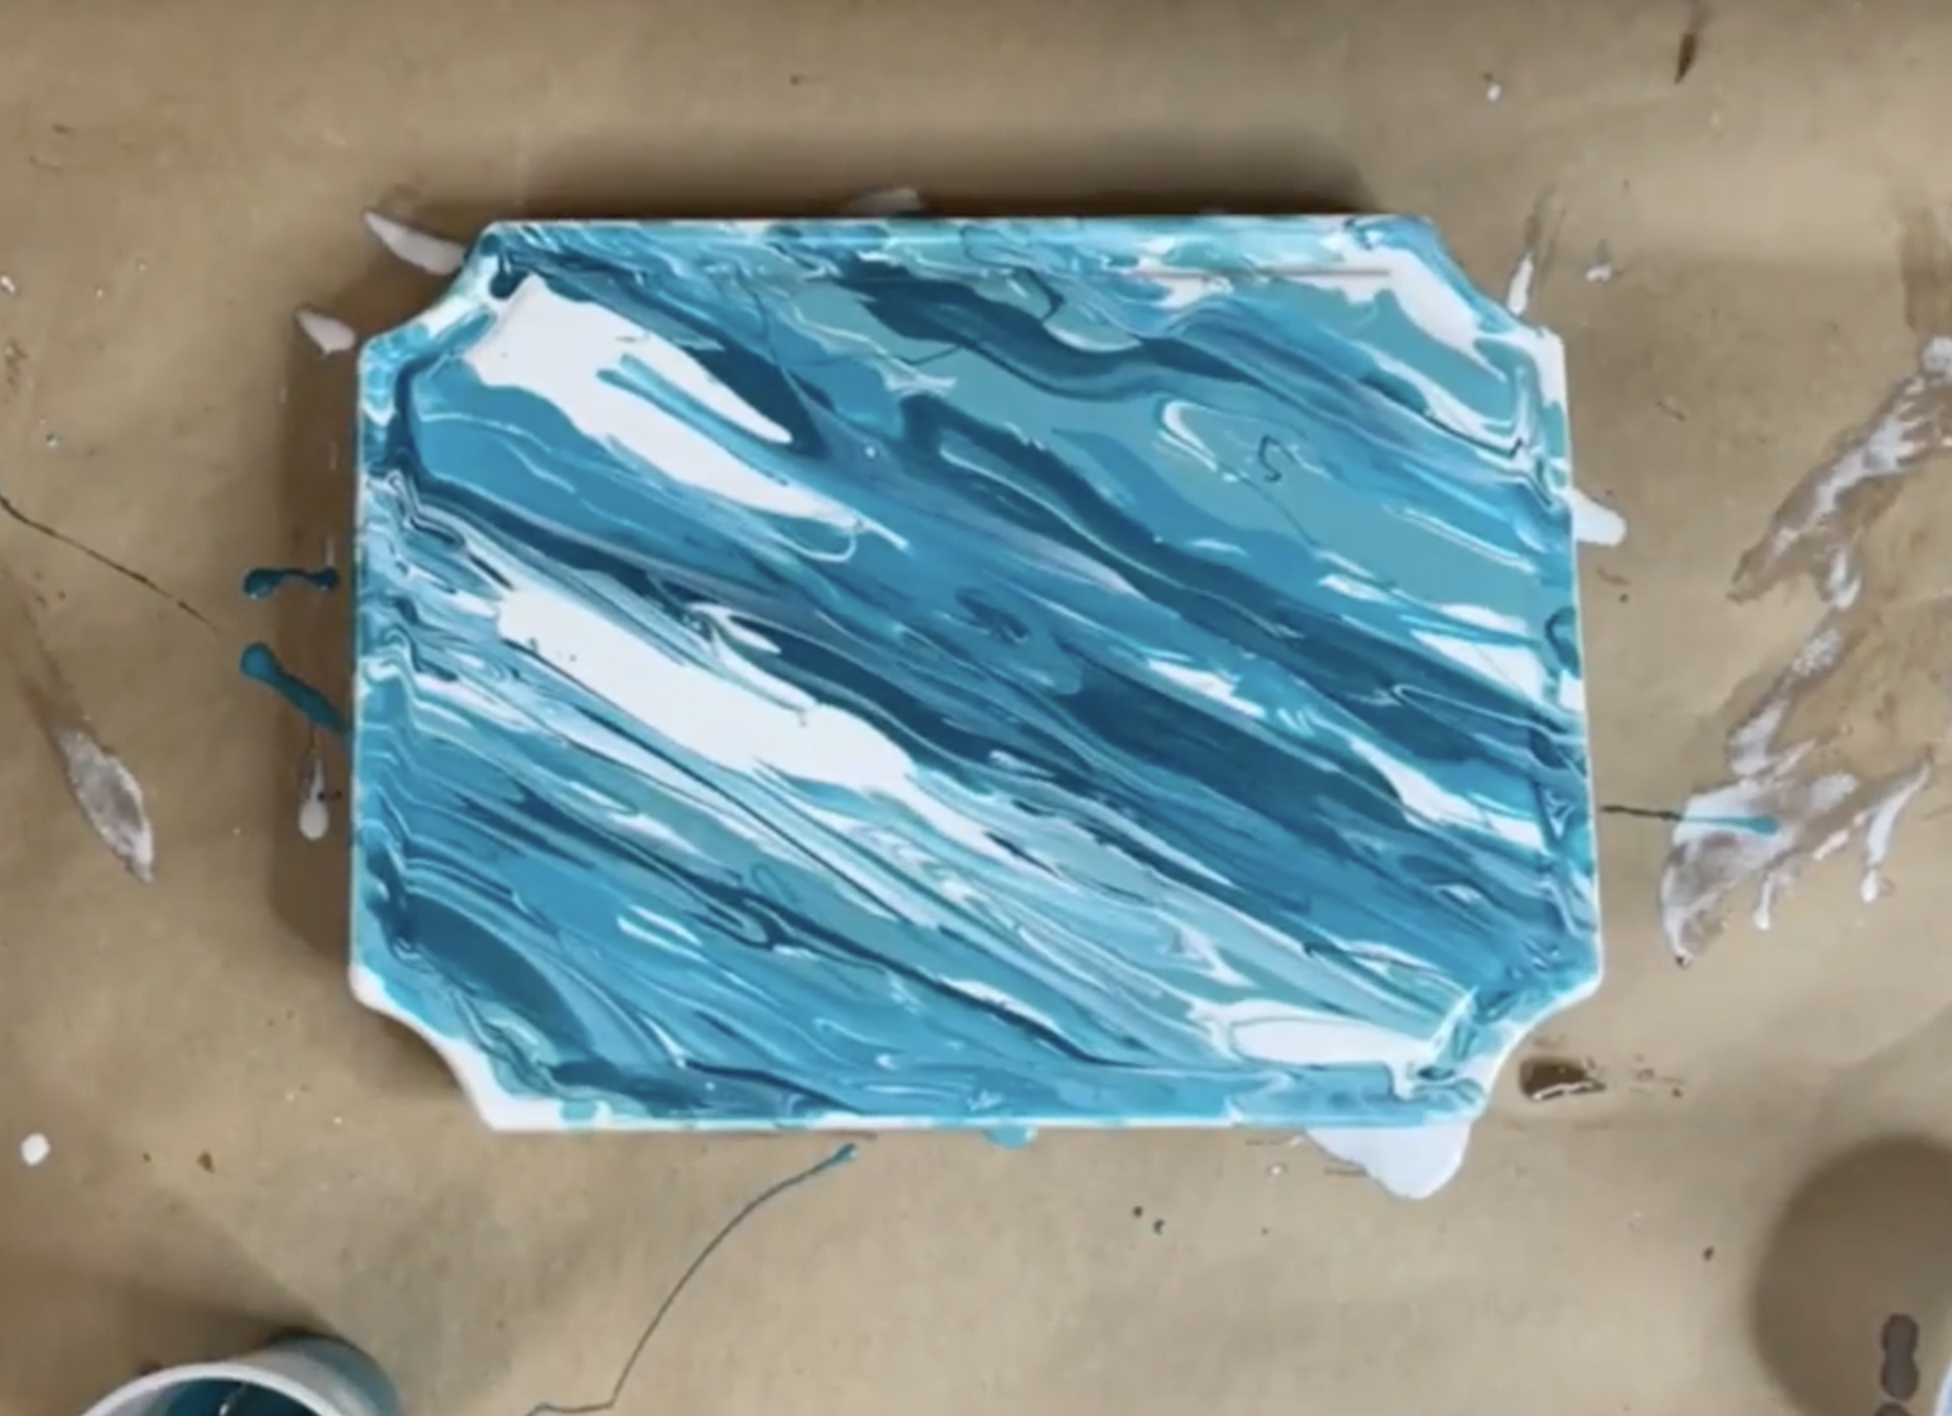
Now comes the fun part: pouring. Start by covering about 70% of your board with the white resin, letting it drip off the edges. Then, randomly pour the three blue colors into the empty areas of the board. There’s no right or wrong way to do this, just go with what feels right and trust your eye. Make sure to fill in any bare spots and coat the edges for a clean, finished look.
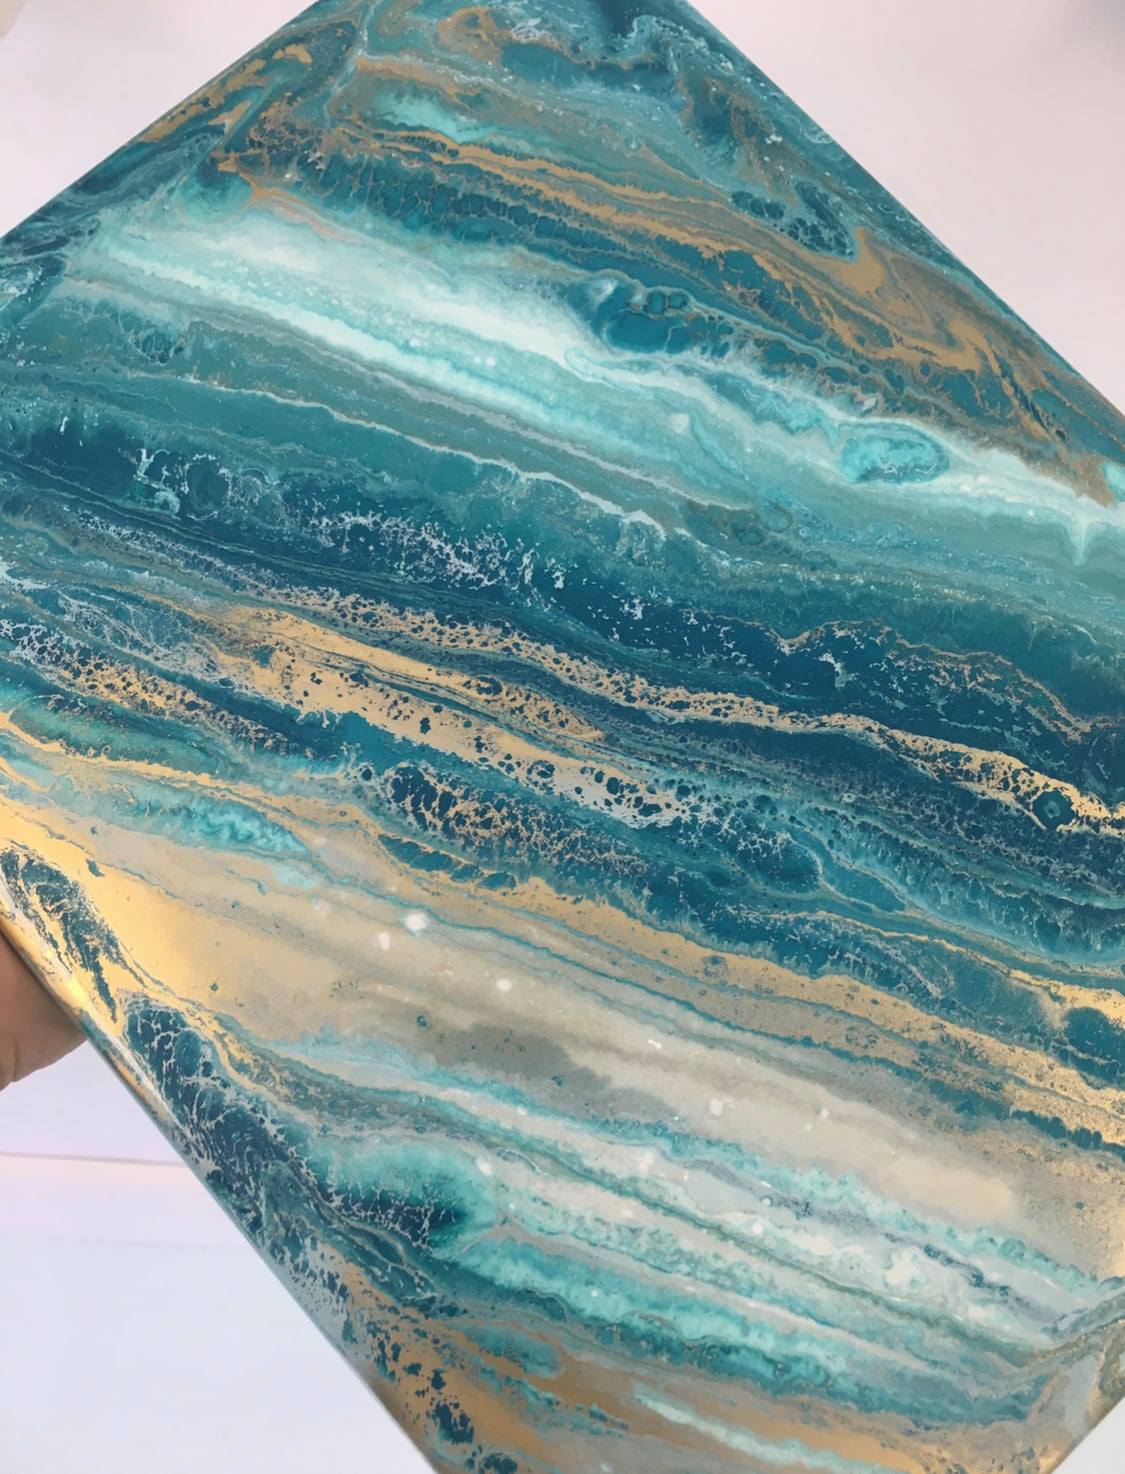
Once the colors are down, it’s time for gold spray paint. Lightly mist the top of your board with gold spray paint (be sure to do this in a ventilated area or box). It might look like a mess at first, but take a clean stir stick and drag it through the paint in various directions. This breaks up the gold into beautiful marbled veins. Varying the angle of your stick will give you different line thicknesses for added texture.
To push the look even further, lightly spray the surface with denatured alcohol from about 18 inches away. This will cause the gold to react and separate into interesting cell-like patterns. Keep an eye on the board and touch up the edges as needed, scraping away heavy drips and redistributing any pooled resin.
Finally, finish the piece with a quick pass from a propane torch or heat gun to remove air bubbles and help the resin settle evenly. The colors will continue to move and shift as the resin cures, so resist the urge to overwork it. Let it be, and watch the magic happen!
Creating this resin cheese board is such a satisfying process, and the end result is a functional piece of art you’ll love to show off—or give as a handmade gift. No two pours are ever the same, which is part of the beauty of working with resin. Don’t be afraid to experiment with color combinations, techniques, or tools!
If you don’t want to miss my Facebook LIVE art instruction, make sure you are on my texting list. I always text 10 minutes before I’m going to go LIVE, so you won’t ever miss it. You can text “Hey Cindy” to 901-519-2923.
Want more inspiration and artwork?
- My website artshattered.com with resources, shop, and more!
- My creative membership The Shattered Circle, where you can explore the world of glass art with online workshops, a supportive community, and more!
- My mini creative membership Just A ‘Lil Bit Monthly Glass Art Club, where you’ll get a new quick and easy online tutorial for just a lil' bit of sparkle in your life!
- My Facebook page where I go LIVE every Wednesday night at 6:00 PM CST.
- My YouTube channel which has tons of free art lessons right at your fingertips.
