Easter Bunny 🐰
I'm using a 4x12 canvas to create an adorable Easter Bunny! I'm painting this one with a black background and long ears filled with pink seed beads. This one is simple, cute, and easy for your Easter and spring decor. Plus, you only need a handful of supplies to make this original art piece!
Grab your tracer, tape it to the canvas, place graphite paper underneath, and transfer your bunny with a stylus onto the canvas.
Next, paint the edges and background of your canvas with black paint. Let dry or dry with a heat gun.

I'll paint my bunny with Anita's White and I'll use Bleached Sand for some shading and highlighting. I'll also use Poodleskirt Pink to lightly paint the ears, nose, and cheeks. I'll also paint her eyes with some black paint, and a tiny dot of white paint.

Grab your graphic pen and we'll add some cute details, like eyelashes and whiskers. I'll also add some outlining around her face and ears. I have a DecoColor Metallic Gold marker too that I'll use to outline ...
Balloon Bunny 🐰
I am using a 5x7 canvas to create a fun and festive bunny art piece with an Easter egg balloon. We'll be adding lots of fun embellishments like glass and some cute daisies that I grabbed from Hobby Lobby. This is an adorable art piece for the spring season and the Easter holiday!

Grab your tracer, tape it to the canvas, place transfer paper underneath, and transfer the outline of your bunny and balloon with a stylus onto the canvas.
I am going to paint my background with Calypso Blue and white, just painting around the bunny and balloon. I'm going to paint my canvas edges too. Let dry or dry with a heat gun.

I'm going to paint my Easter egg balloon with a base coat of white paint and then I'm going to add some Crocus Yellow. I'll also add a base coat of white paint to my bunny too. Then, I'll add some Hauser Green Light to the bottom of my canvas for grass. Let dry or dry with a heat gun.

Now we're going to add some color to our Easter egg. I'm using Dragonfruit Pink to add...
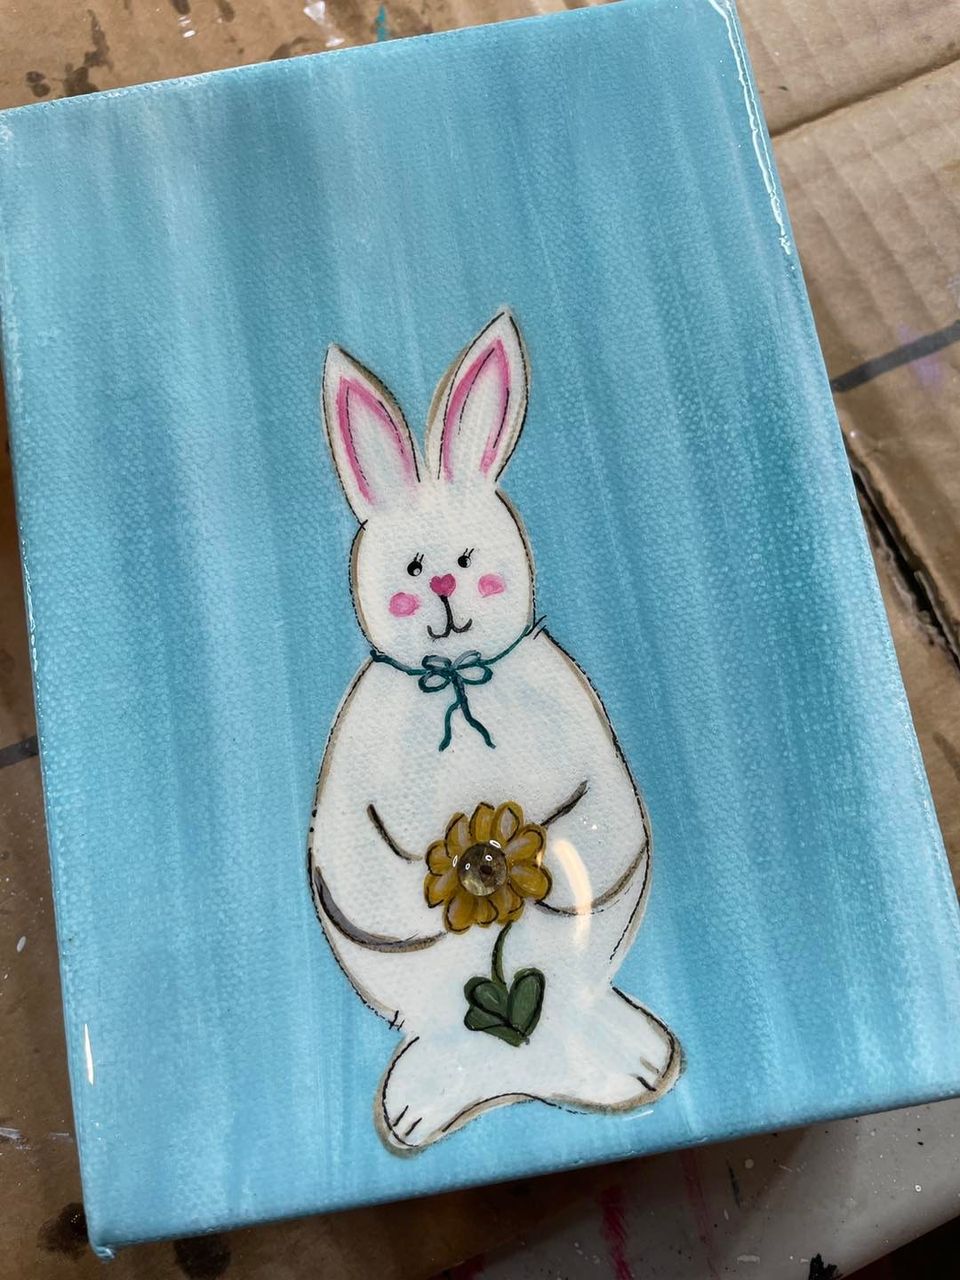
Bunny with Sunflower 🌻
Today we are making a special project for my mom's birthday! I am recreating a jar that she painted probably back in the 90s that broke. I'm going to paint it as close to her original as possible! Let's get started.

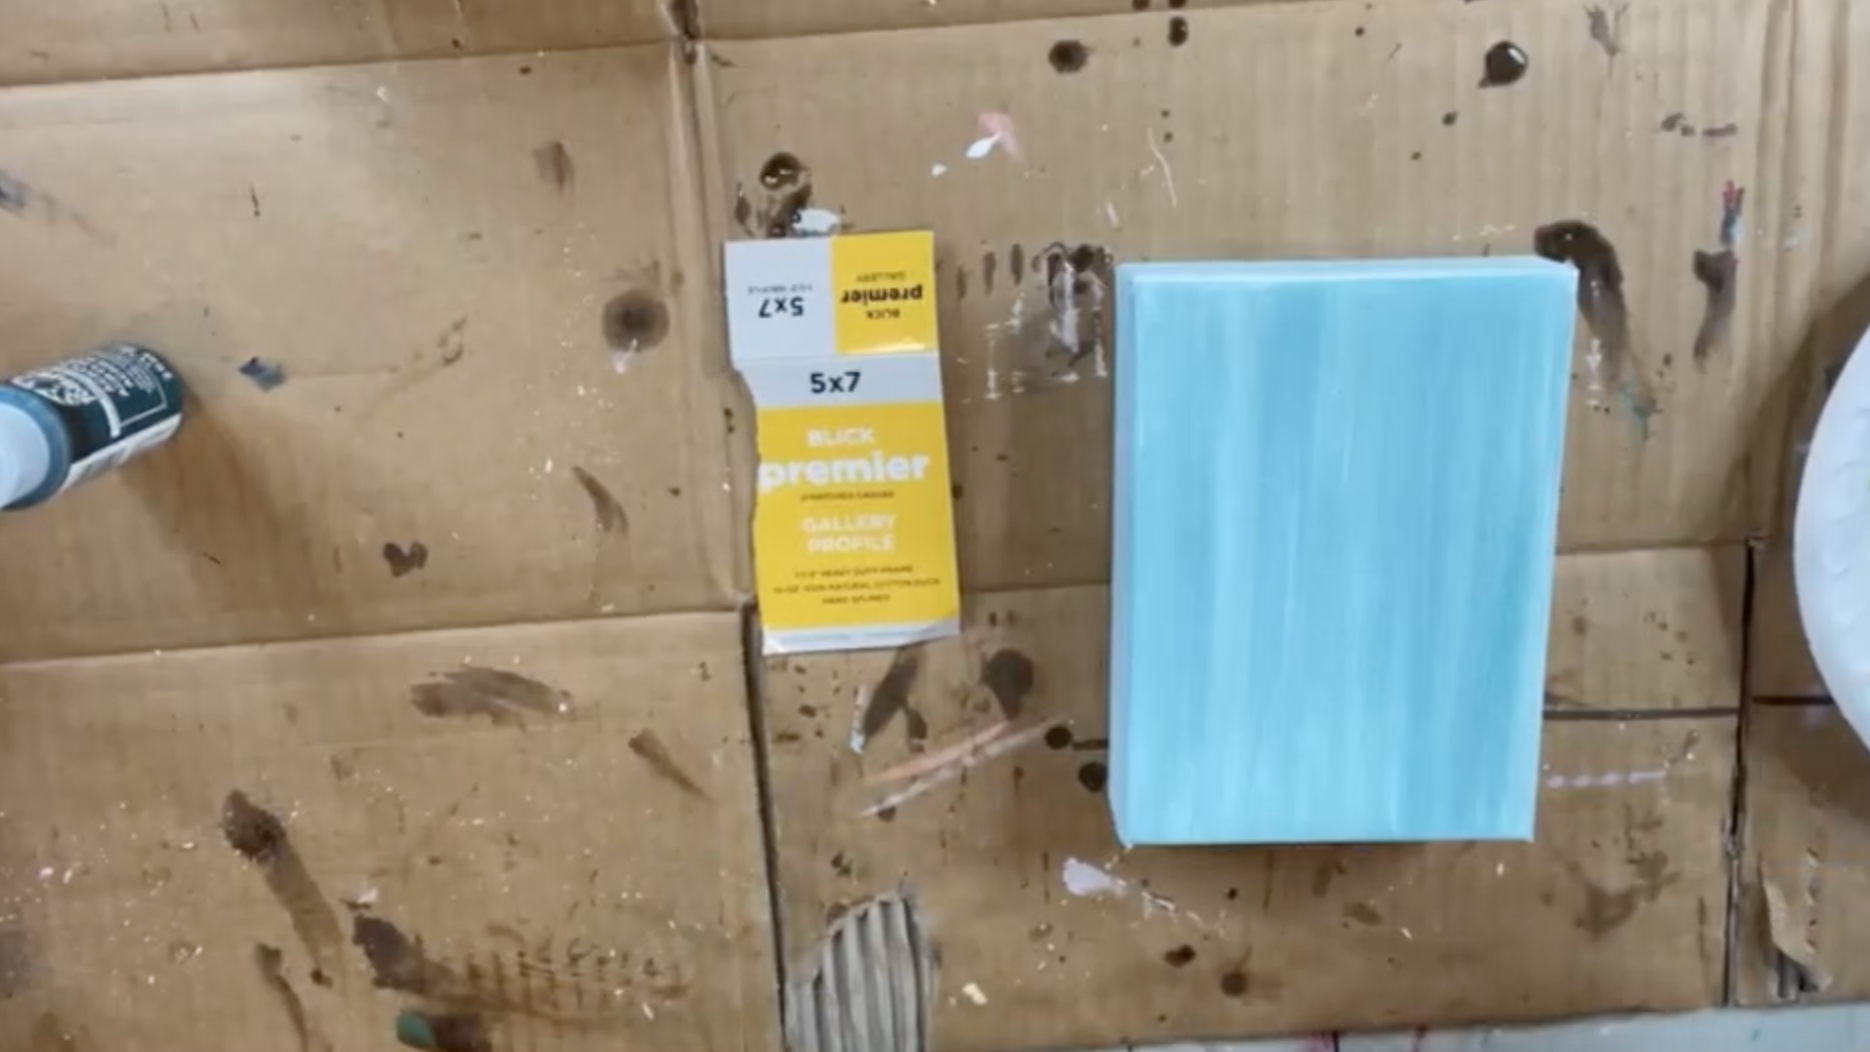
I'm using a 5 x 7 canvas and painting the background white first. I'm adding a smoky blue color with up-and-down paint strokes (just like the jar). I'm also going to paint the canvas edges as well. Let dry.

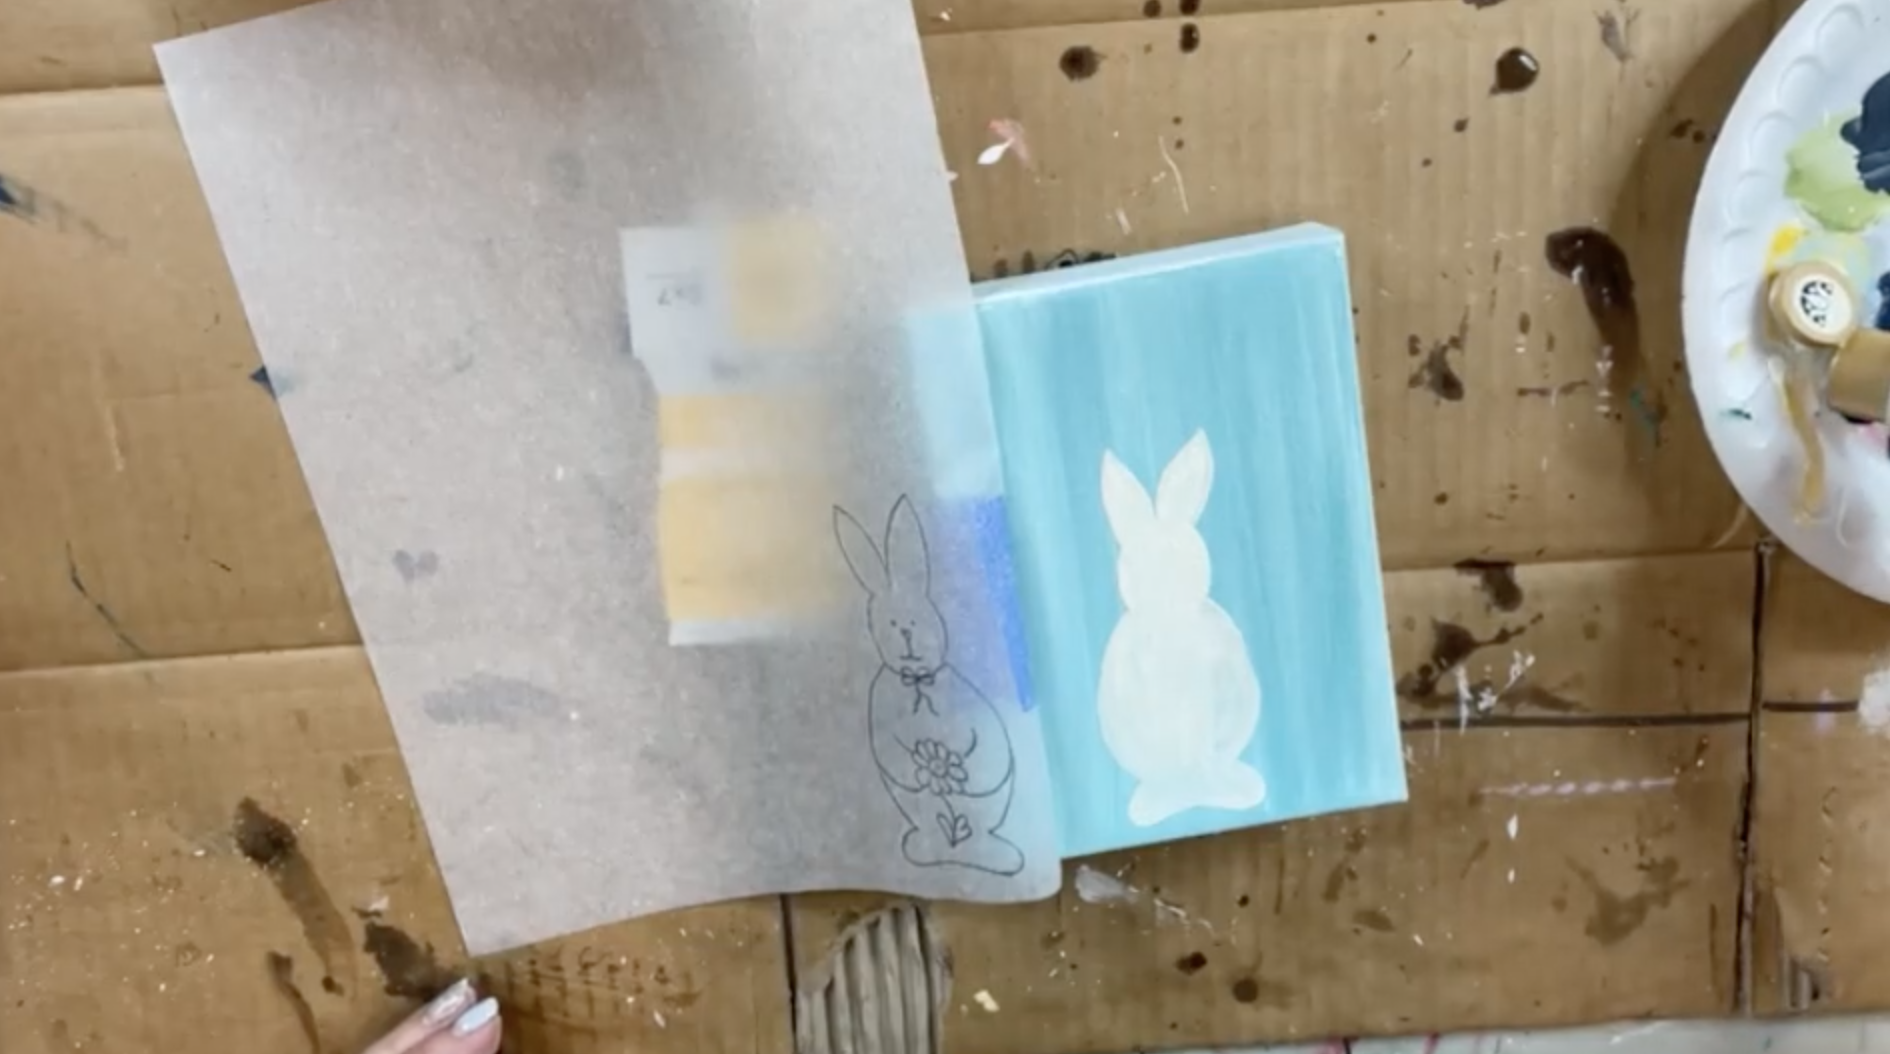
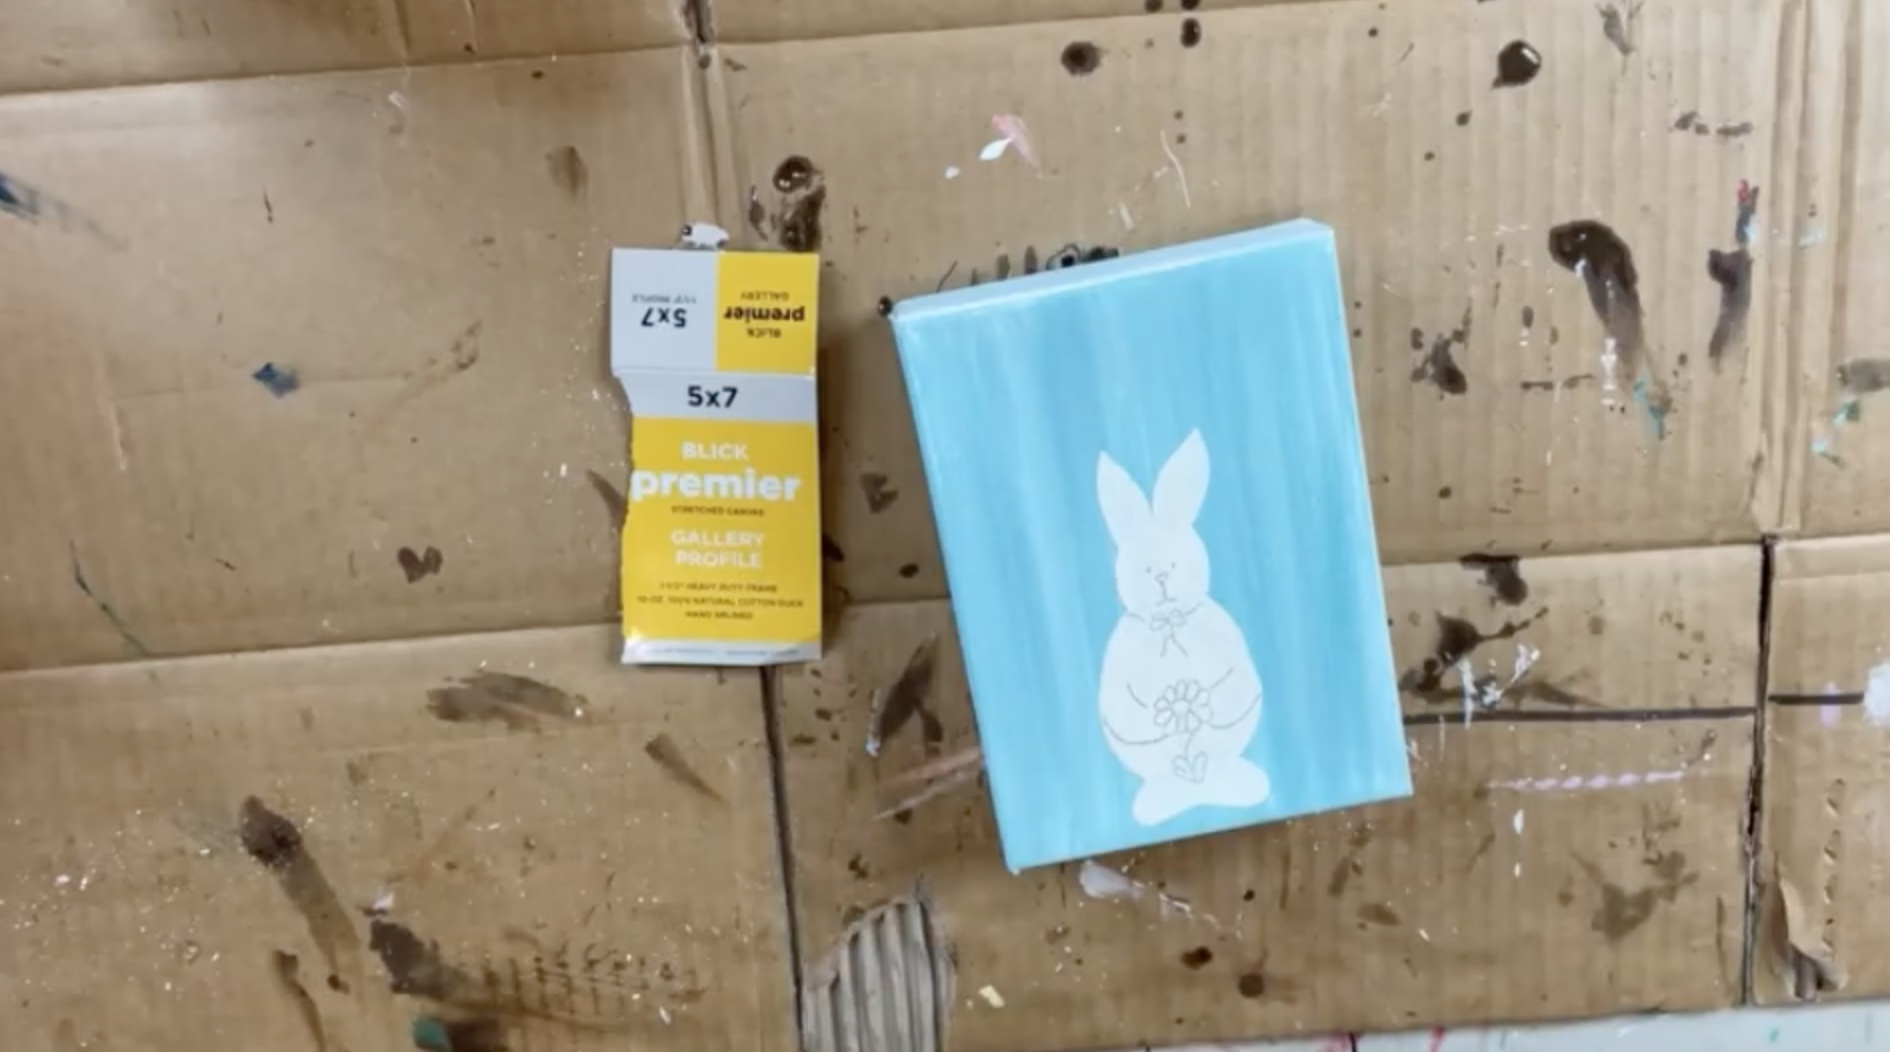
Next, grab your tracer and tape it to your canvas. Place your graphite paper underneath and trace your bunny with your stylus. Just trace the outside edge and not any of the details yet. Then, fill in your bunny with white paint. Let dry and do a second coat.

Make sure your canvas is dry. Add your tracer back to your canvas and now trace the details with your stylus.

Now, it's time to paint details! First, I'm painting the ears, cheeks, and nose with a pink color. Next, I'm going to use my stylus in some black paint to add tiny dots for the eyes. Then, I'm u...
Cute Animal Print Bunny 🐰
We are doing a cute little 5x7 animal print bunny today - just the silhouette - using some gorgeous animal print foil and a pink glass tail. This one is so fun, simple, and easy! Such a great project for beginners!

First, we're going to start by painting our background. I'm doing a pink Dragonfruit color as well as mixing some white paint in. This is really going to make that animal print pop! Let dry.

Next, grab your tracer and tape it to your canvas. Place your graphite paper underneath and trace your bunny with your stylus.

Now it's time to add our animal print foil! We are going to use foil adhesive. Just paint it on to your entire bunny silhouette, making sure to cover those tracer lines. Let dry. Next, lay your animal print foil pattern-side up onto your canvas. Press it down and scrub it onto your canvas to transfer the pattern.

I'm going to take my graphic pen to add some details. I'm outlining my entire bunny and adding some whiskers. Then, I'm going to take some...


