Patriotic Tie 🇺🇸
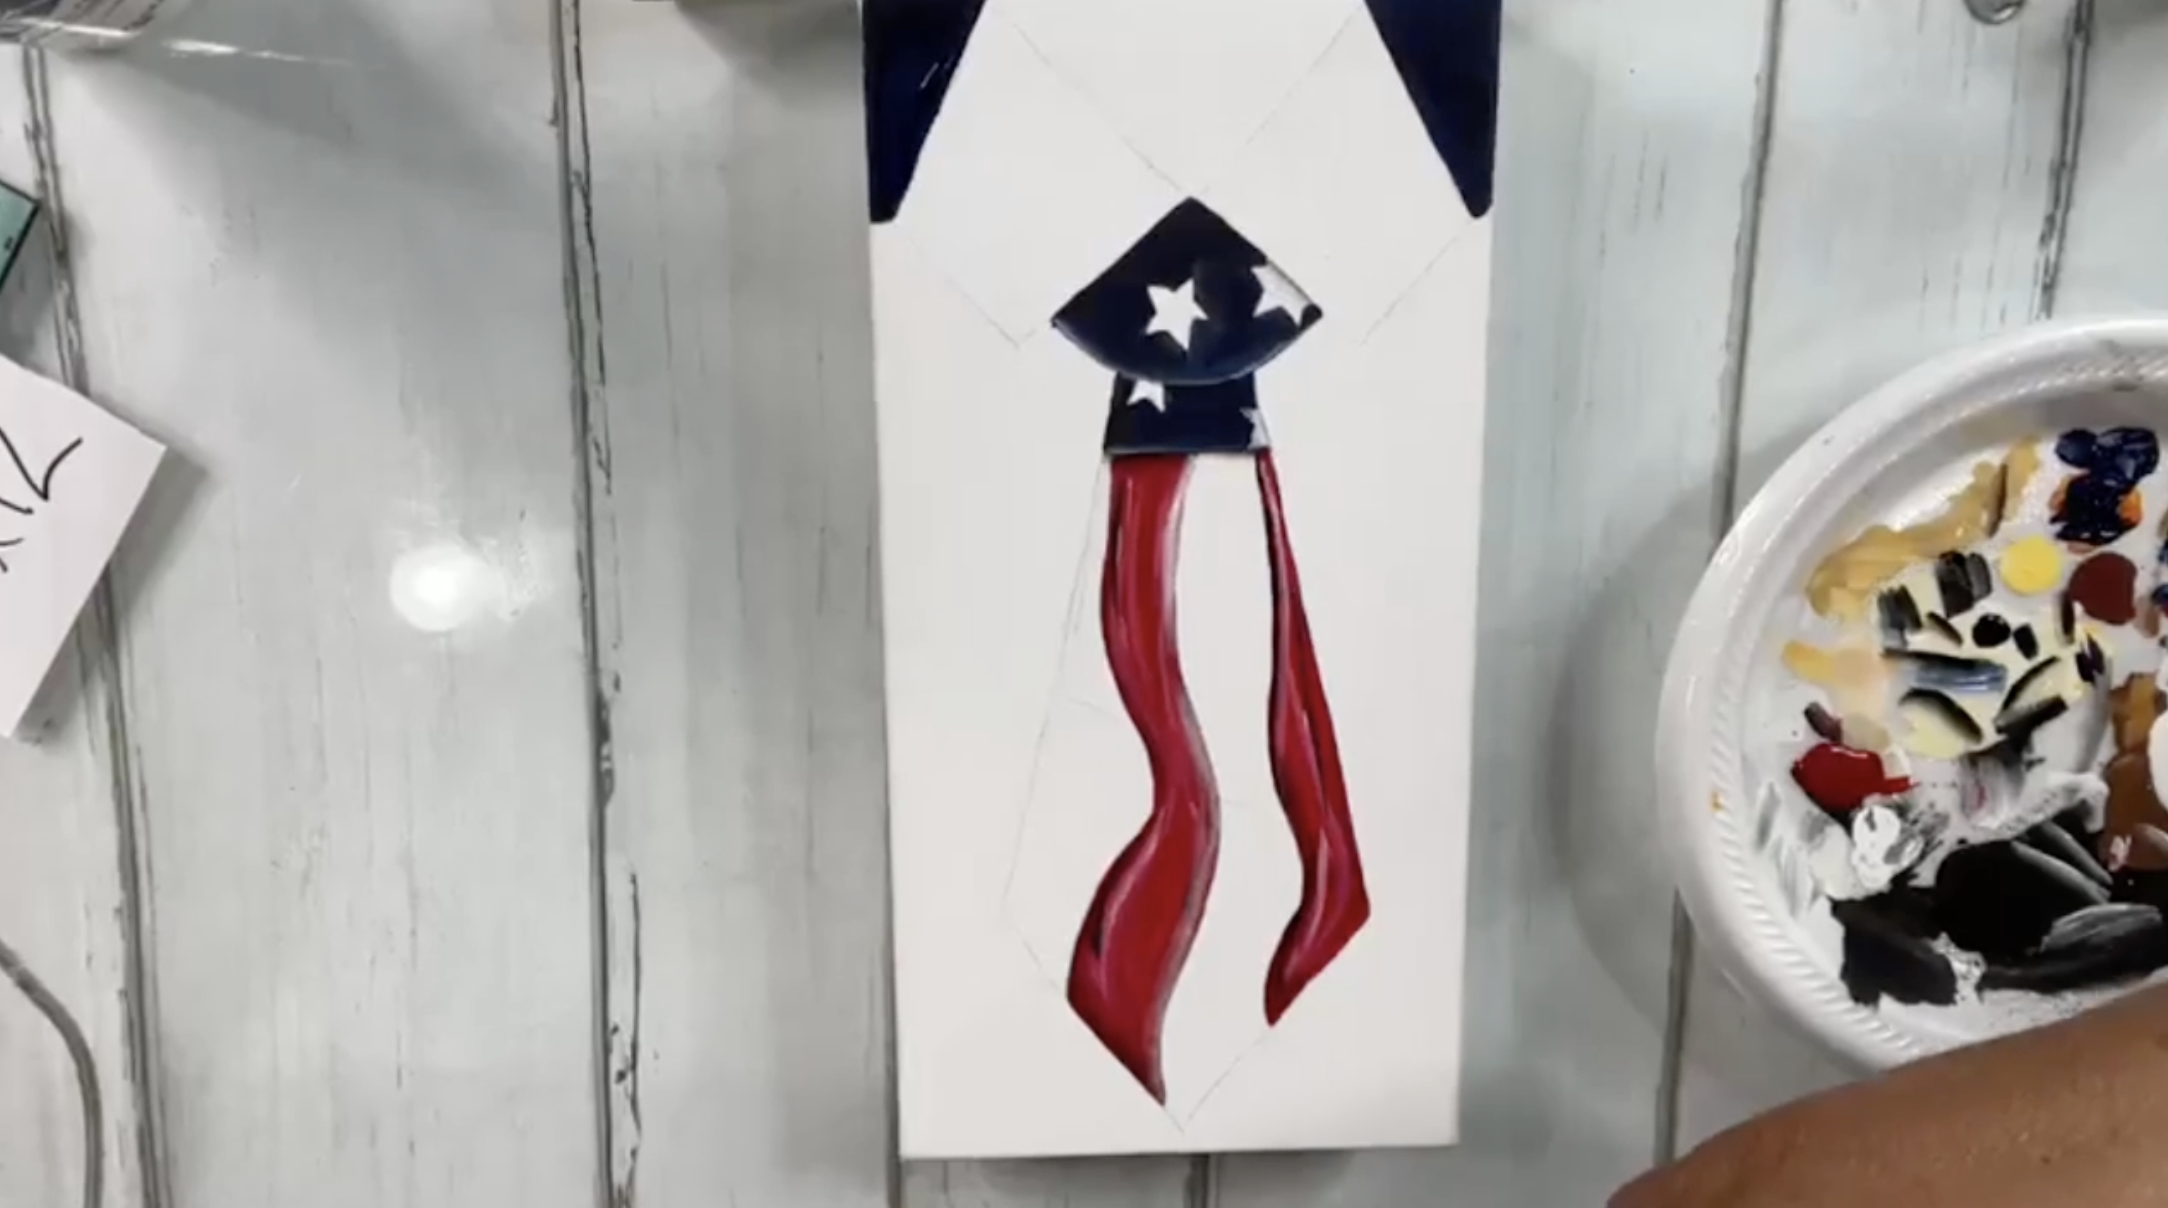
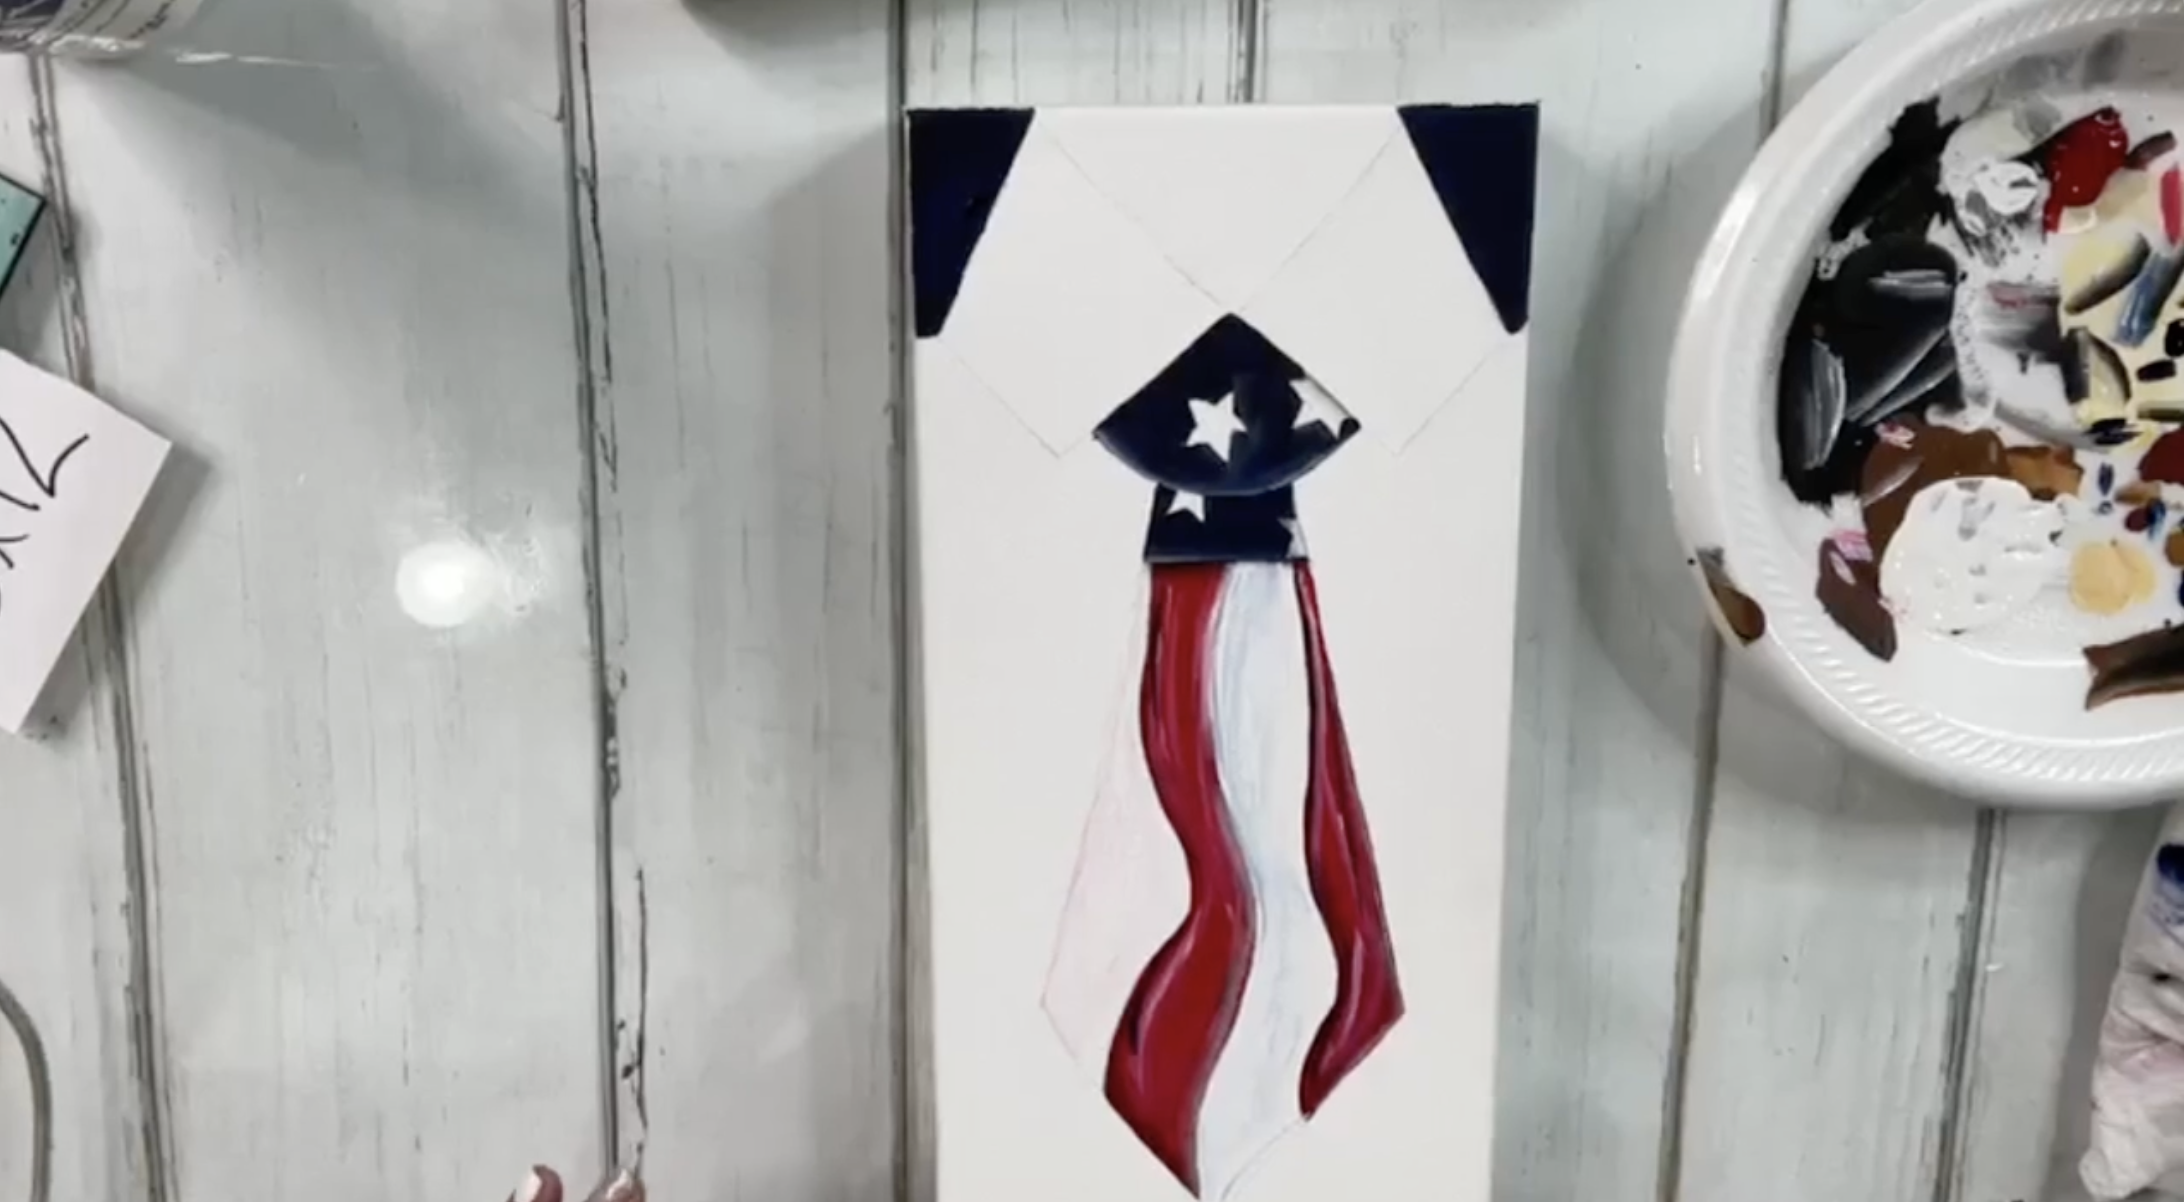
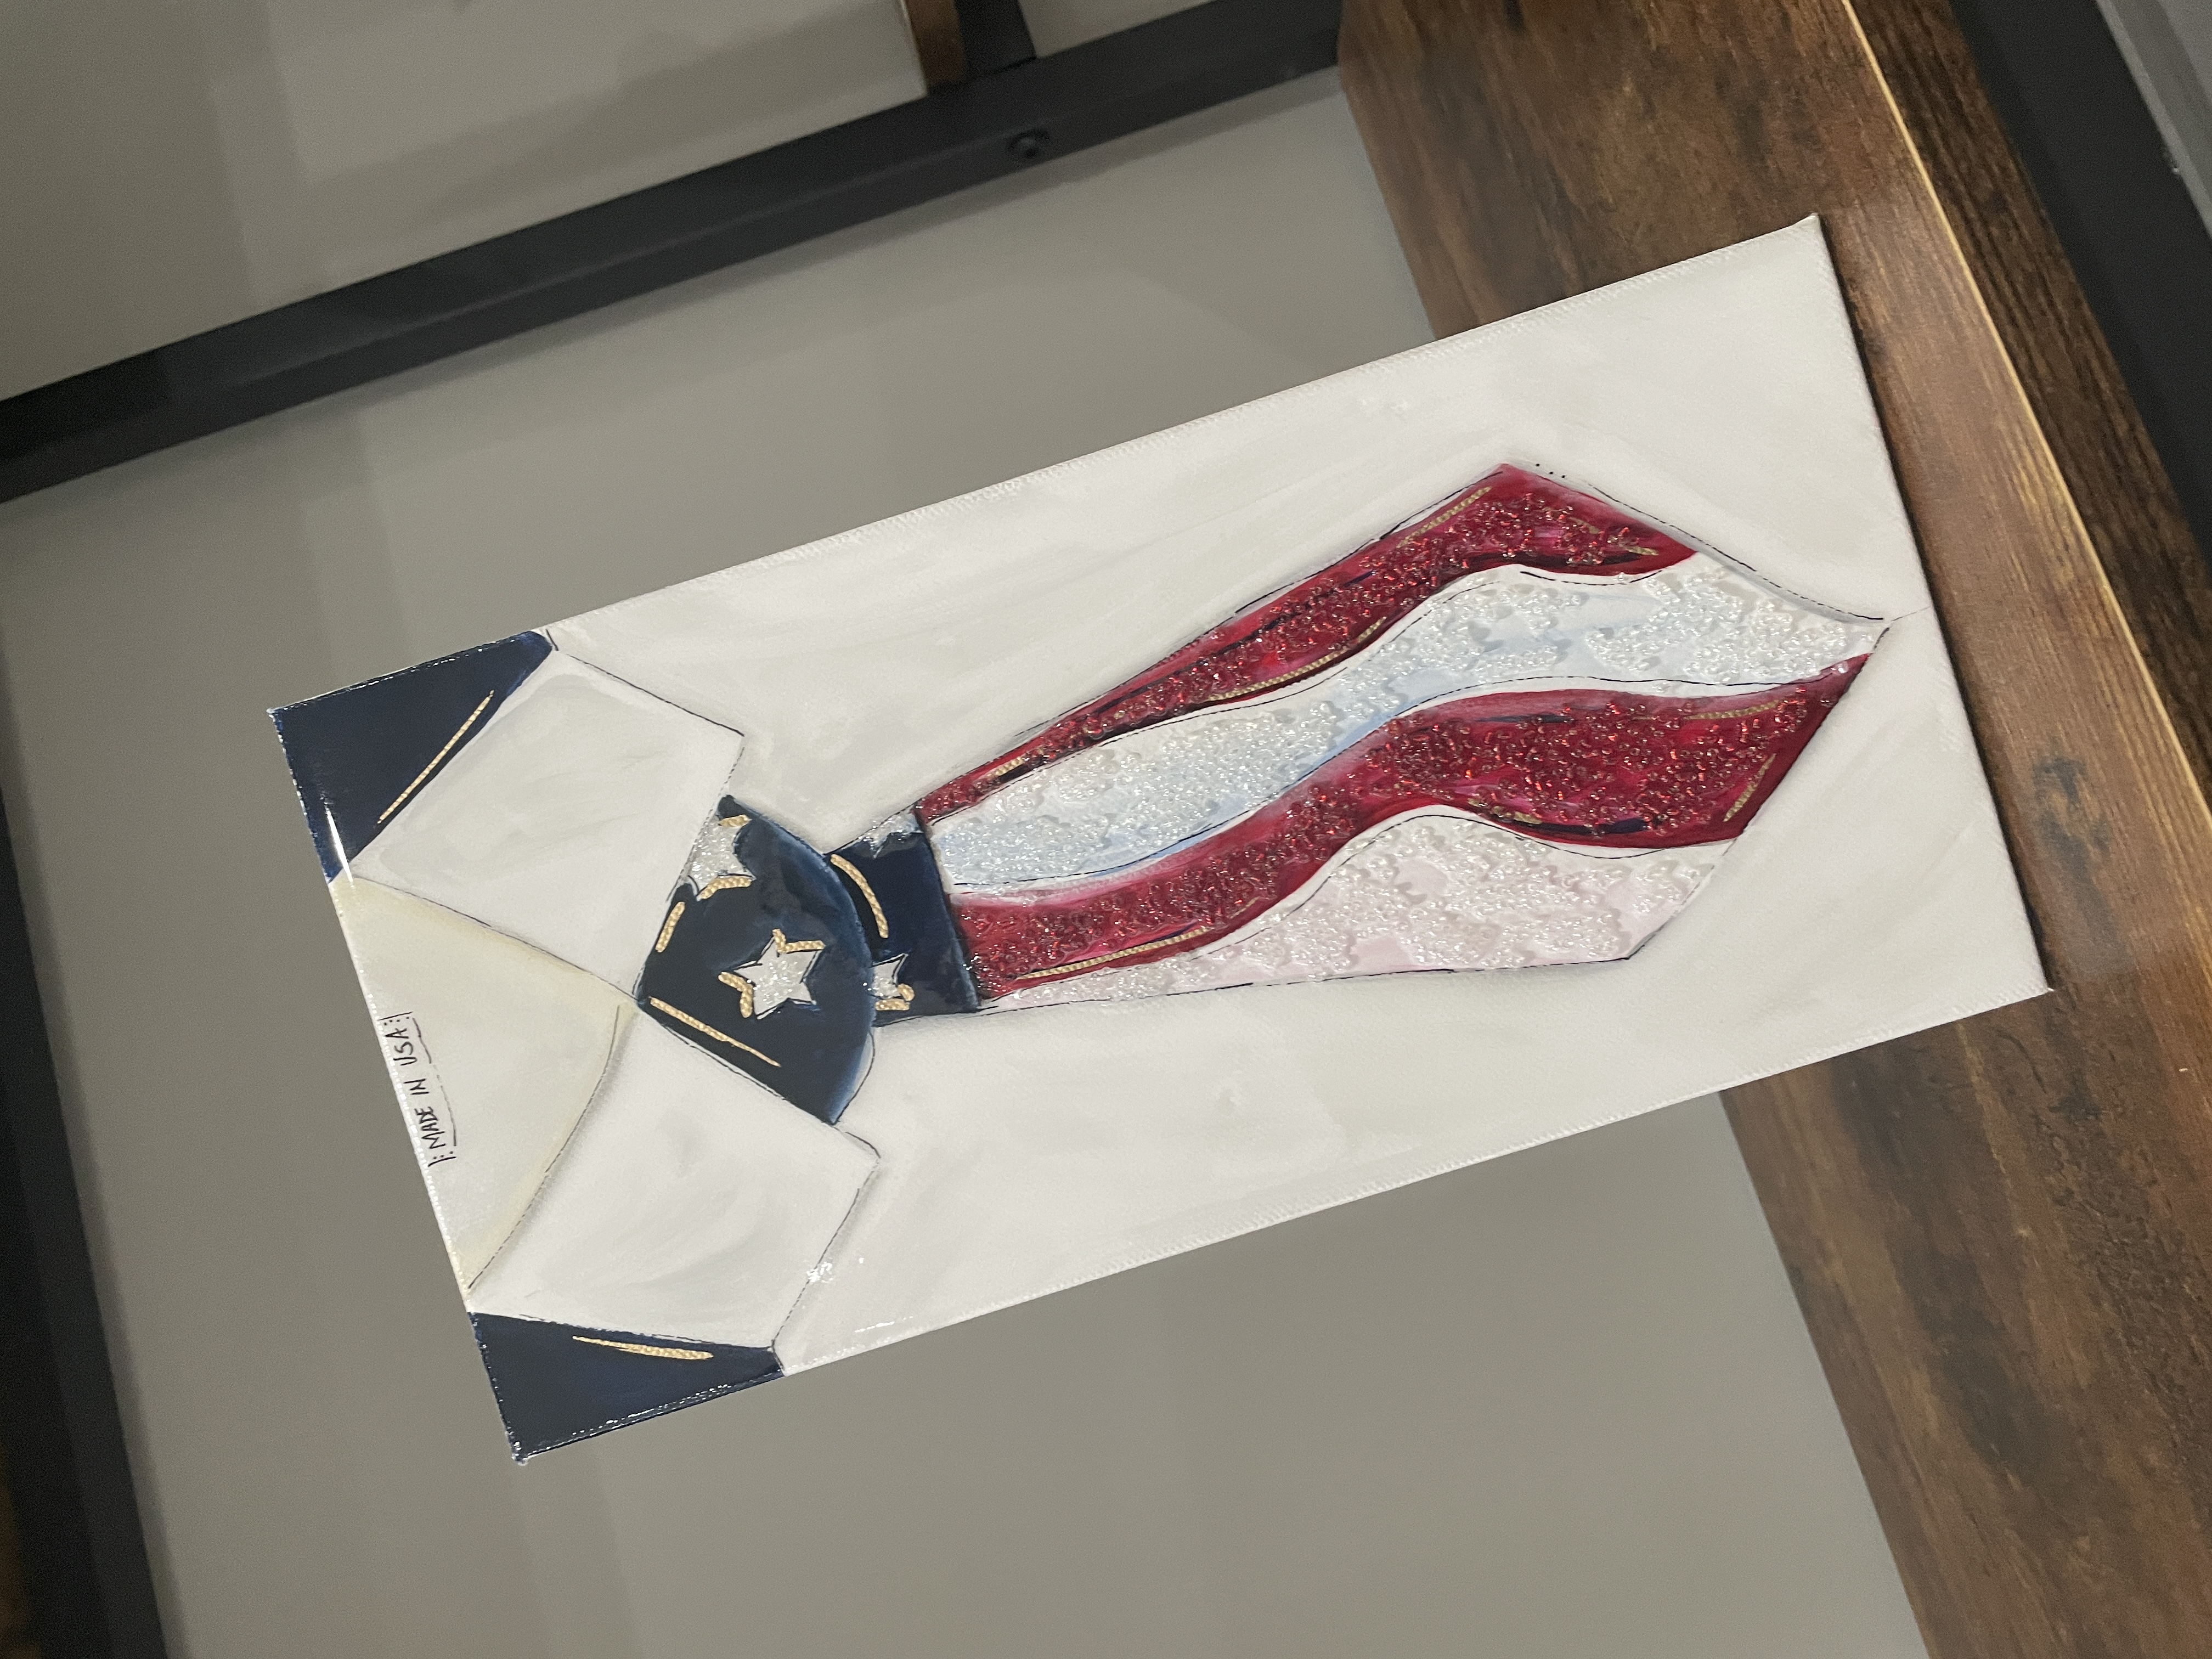
We are creating a patriotic tie art piece perfect for a Father's Day gift! This is going to be on a 6x12 canvas and I will be showing you how to paint this tie from start to finish. Then, we'll add some seed beads to finish it off and make it all come together perfectly!
Grab your tracer, tape it to the canvas, place graphite paper underneath, and transfer your tie with a stylus onto the canvas.
I'm going to take a flat paintbrush and paint the shirt area of my art piece with white paint. I'll also paint the stars on the top of my tie with white as well. Then, I'll take some Midnight Blue and paint the top of my tie and the top corners of my shirt area. Next, I'll add Cherry Red paint to two of my tie stripes. Add a second coat to these areas as well as some shadowing and highlights.

Add some white paint to your other tie stripes and then add a tiny bit of red to one stripe and a tiny bit of blue to the other white stripe. Dry with a heat tool.

We are going to do the V on t...
Ocean Jellyfish 🌊
I am showing you how to make a beautiful ocean-themed art piece with jellyfish with lots of fun glass embellishments such as acrylic bubbles, crushed glass, clear vitrigraph, and a small glass globe that I broke some pieces from. This one requires a minimal amount of painting and is great for beginners just getting started in glass art!

I am starting by painting my canvas with white paint. Then, I'll add a little bit of Calypso Blue to the background. Next, I'll take some of the blue and some of the white on the very tips of my bristles and create some squiggle lines. Dry with a heat tool.

Place your clear glass globe pieces onto your canvas to determine where each of your jellyfish will be located. Then, take some Metallic White paint, load your paintbrush, and twist and turn it down your canvas to create some tentacles. I'll also mix in some Metallic Teal and use the same technique.
Do the same thing with your second jellyfish, but have your tentacles going in the other direc...
Grapefruit Margarita
Let's make this fun, summery Grapefruit Margarita on a 6x12 canvas! I'll be showing you exactly how to paint this margarita from start to finish, as well as showing you how to add all of the glass. I also added a straw to this art piece, which turned out so cute! This one was so fun to make and you only need a little bit of glass to bring it all together.

I am starting by painting my canvas with white paint. Then, I'll add a little bit of Tropical Blue paint and start swirling it into a circle onto my canvas. I'm making it darker on the outer edges and lighter in the middle. Make sure you paint a line along the bottom to make a surface that your drink is resting on. Let dry or dry with a heat gun.

Grab your tracer, tape it to the canvas, place graphite paper underneath, and transfer your margarita with a stylus onto the canvas.
Now, we are going to paint! I am going to start by painting the grapefruit. I am using all of the pinks and corals today. I am starting with Melon, Dragon...
Easy Beach Art 🌊
I am showing you how to make a simple beach-themed art piece with all of the glass goodies and shells! We'll start by painting our ocean background and then we'll add our embellishments and resin. Creating beach art is one of my favorite things to do, and this one is great for beginners just starting out with glass art!

We are splitting our canvas into three different areas - sky, ocean, and sand. We are going to paint the bottom of our canvas with Vintage White and white to make our sand. Then, I'll use Sky Blue for my sky along with some white paint to create some soft clouds. Then, I'll paint my ocean with Prussian Blue, Tropical Blue, and white. I'll use my darker blue towards the horizon and gradually blend in the Tropical Blue and then the white as I get closer to the shoreline. Dry with a heat tool.

Next, I'll paint some birds in my sky with a smaller brush and some white paint. It's as easy as painting some Vs in the sky! Let dry, then grab your graphic pen and add some d...
Mother's Day Bouquet 💐
I am creating a beautiful flower bouquet on a black background canvas. I am showing you how I painted this from start to finish as well as adding all of the glass goodies to make those flowers really pop. This one is super fun to make, and would make the perfect Mother's Day gift for the mom in your life!

I am using an 8x10 canvas and starting off by painting the background and sides of the canvas with black paint. Let dry or dry with a heat gun.
I am just going to freehand the base of my bouquet. I am going to paint green flower stems - just adding natural strokes going straight up and out.

Next, I am painting my leaves on the canvas. Saturate the brush with green paint, pushing the brush down and lifting it up to create leaf shapes. I'm going to fill in most of the bottom of the bouquet and add some white paint for highlighting. Let dry or dry with a heat gun.

I'm going to grab my graphic pen and define some of these leaves before we move on. I'm just adding some detail li...
Lime Margarita
I am making a fun lime margarita art piece on a 6x12 canvas, complete with acrylic paint, sheet glass pieces, and glass rings to bring it all together. This is such a fun spring or summer project, and it's very easy to create too! I'm showing you step-by-step how to make this and breaking it all down for you here!

I am starting by painting my canvas with white paint. Then, I'll add a little bit of Tropical Blue paint and start swirling it into a circle in the middle of my canvas. I'm making it darker on the outer edges and lighter in the middle. Let dry or dry with a heat gun.

Grab your tracer, tape it to the canvas, place graphite paper underneath, and transfer your margarita with a stylus onto the canvas.
Now, we are going to paint! First, I am painting the entire glass with white paint. Then, I am using Schoolbus Yellow and Hauser Green Light to add that margarita mix color. Let dry or dry with a heat gun.

Next, I am going to add some more shadowing and highlighting with ...
Field of Tulips 🌷
I am using a distressed piece of wood as my surface today to create a beautiful field of tulips. We'll be painting on our wood and then adding some clear glass vase pieces for our petals along with some seed beads and resin. This is the perfect spring project and would look so pretty in your home!

Start by painting your wood piece with some white paint to give it a distressed look. Then, I'm using Hauser Green Light and Avocado Green to paint my board with a chip brush. I'm mostly concentrating on the bottom of my piece. I'll take a smaller brush and some Crocus Yellow and Straw Yellow and just dab that paint into my field of green to create "flowers" in the background. Let dry or dry with a heat gun.

Grab your tracer, tape it to the canvas, place graphite paper underneath, and trace your tulip with a stylus onto the wood.
Now, let's paint our flower! I'm painting the petals with a basecoat of Straw Yellow. Then, I'm painting the leaves and stem with Hauser Green Light. Next, a...
Black & Gold Cross
We are using a 4x12 canvas to create a glass cross on a pretty black and gold background. I'll show you exactly how I paint the background and create my cross out of glass strips. We'll also add some extra crushed glass and resin to bring it all together! This one has minimal painting and is a great beginner project if you're just getting started with glass art!

First, start by painting your canvas front and sides with black paint. Let dry or dry with a heat gun.
I'm using Splendid Gold Metallic paint and applying it to my canvas with a palette knife. I want this to be very organic and natural looking, so I'm just lightly running my palette knife diagonally across my canvas. I'll do this several times until it looks the way that I like. Let dry or dry with a heat gun.

I have glass strips that I will be forming into the shape of a cross. These are fun iridescent glass pieces and I used a gold paint marker to draw on the edges of my glass. I'm going to take some tacky glue and sec...
Easter Bunny 🐰
I'm using a 4x12 canvas to create an adorable Easter Bunny! I'm painting this one with a black background and long ears filled with pink seed beads. This one is simple, cute, and easy for your Easter and spring decor. Plus, you only need a handful of supplies to make this original art piece!
Grab your tracer, tape it to the canvas, place graphite paper underneath, and transfer your bunny with a stylus onto the canvas.
Next, paint the edges and background of your canvas with black paint. Let dry or dry with a heat gun.

I'll paint my bunny with Anita's White and I'll use Bleached Sand for some shading and highlighting. I'll also use Poodleskirt Pink to lightly paint the ears, nose, and cheeks. I'll also paint her eyes with some black paint, and a tiny dot of white paint.

Grab your graphic pen and we'll add some cute details, like eyelashes and whiskers. I'll also add some outlining around her face and ears. I have a DecoColor Metallic Gold marker too that I'll use to outline ...
Dogwood Cross ✝️
I'm creating a beautiful Dogwood Cross on an 8x10 canvas with a pearl paint background. I'll be making my cross out of purple glass strips and then I'll be adding a Dogwood flower in the center with pieces from a glass vase. We'll finish it off with some seed beads, Starfire glass, bubbles, and resin!

First, I am going to paint my background with Metallic White paint. I am adding two coats of this, and drying it with a heat gun each time.
Then, I'm going to take my purple glass strips and form my cross. I'm going to lay them flat and stack them, gluing them to my canvas with tacky glue. I'll add some Starfire glass around my cross. Finally, I'm adding green seed beads to the center.

Next, we will add resin. We're going to elevate our canvas using blocks. Mix 1 ounce of resin and stir gently for three minutes. Then, drizzle over your glass. Pour the remainder of the resin onto your canvas and spread it using your gloved fingers or brush.
Then, I'm taking the Dogwood flower peta...


