Pumpkin Head 🎃

halloween pumpkin Oct 16, 2024
 

I'm excited to welcome a special guest, Steve, as we team up to create a Halloween-inspired Pumpkin Head art piece! We'll guide you through each step, from blending the perfect background to adding character with highlights, shadows, and glass details that give it a unique pop. Whether you're decorating for Halloween or just love seasonal art, this project is a great way to get creative!

Begin by swirling white paint in the center of your canvas, moving outward in a circular motion until about 90% of the surface is covered. Then, switch to black paint, blending it in circular strokes from the edges toward the center, creating a gradient that’s darkest around the edges and lightens as it meets the white. Paint the sides of the canvas black for a seamless, finished look. Finally, use a heat tool to dry.

Grab your tracer, tape it to your canvas, place white graphite paper underneath, and use a stylus to trace your pumpkin head man.

Now, let's add a base coat to all of his...

Continue Reading...

Pink October Pumpkin 💕

fall pumpkin Oct 09, 2024


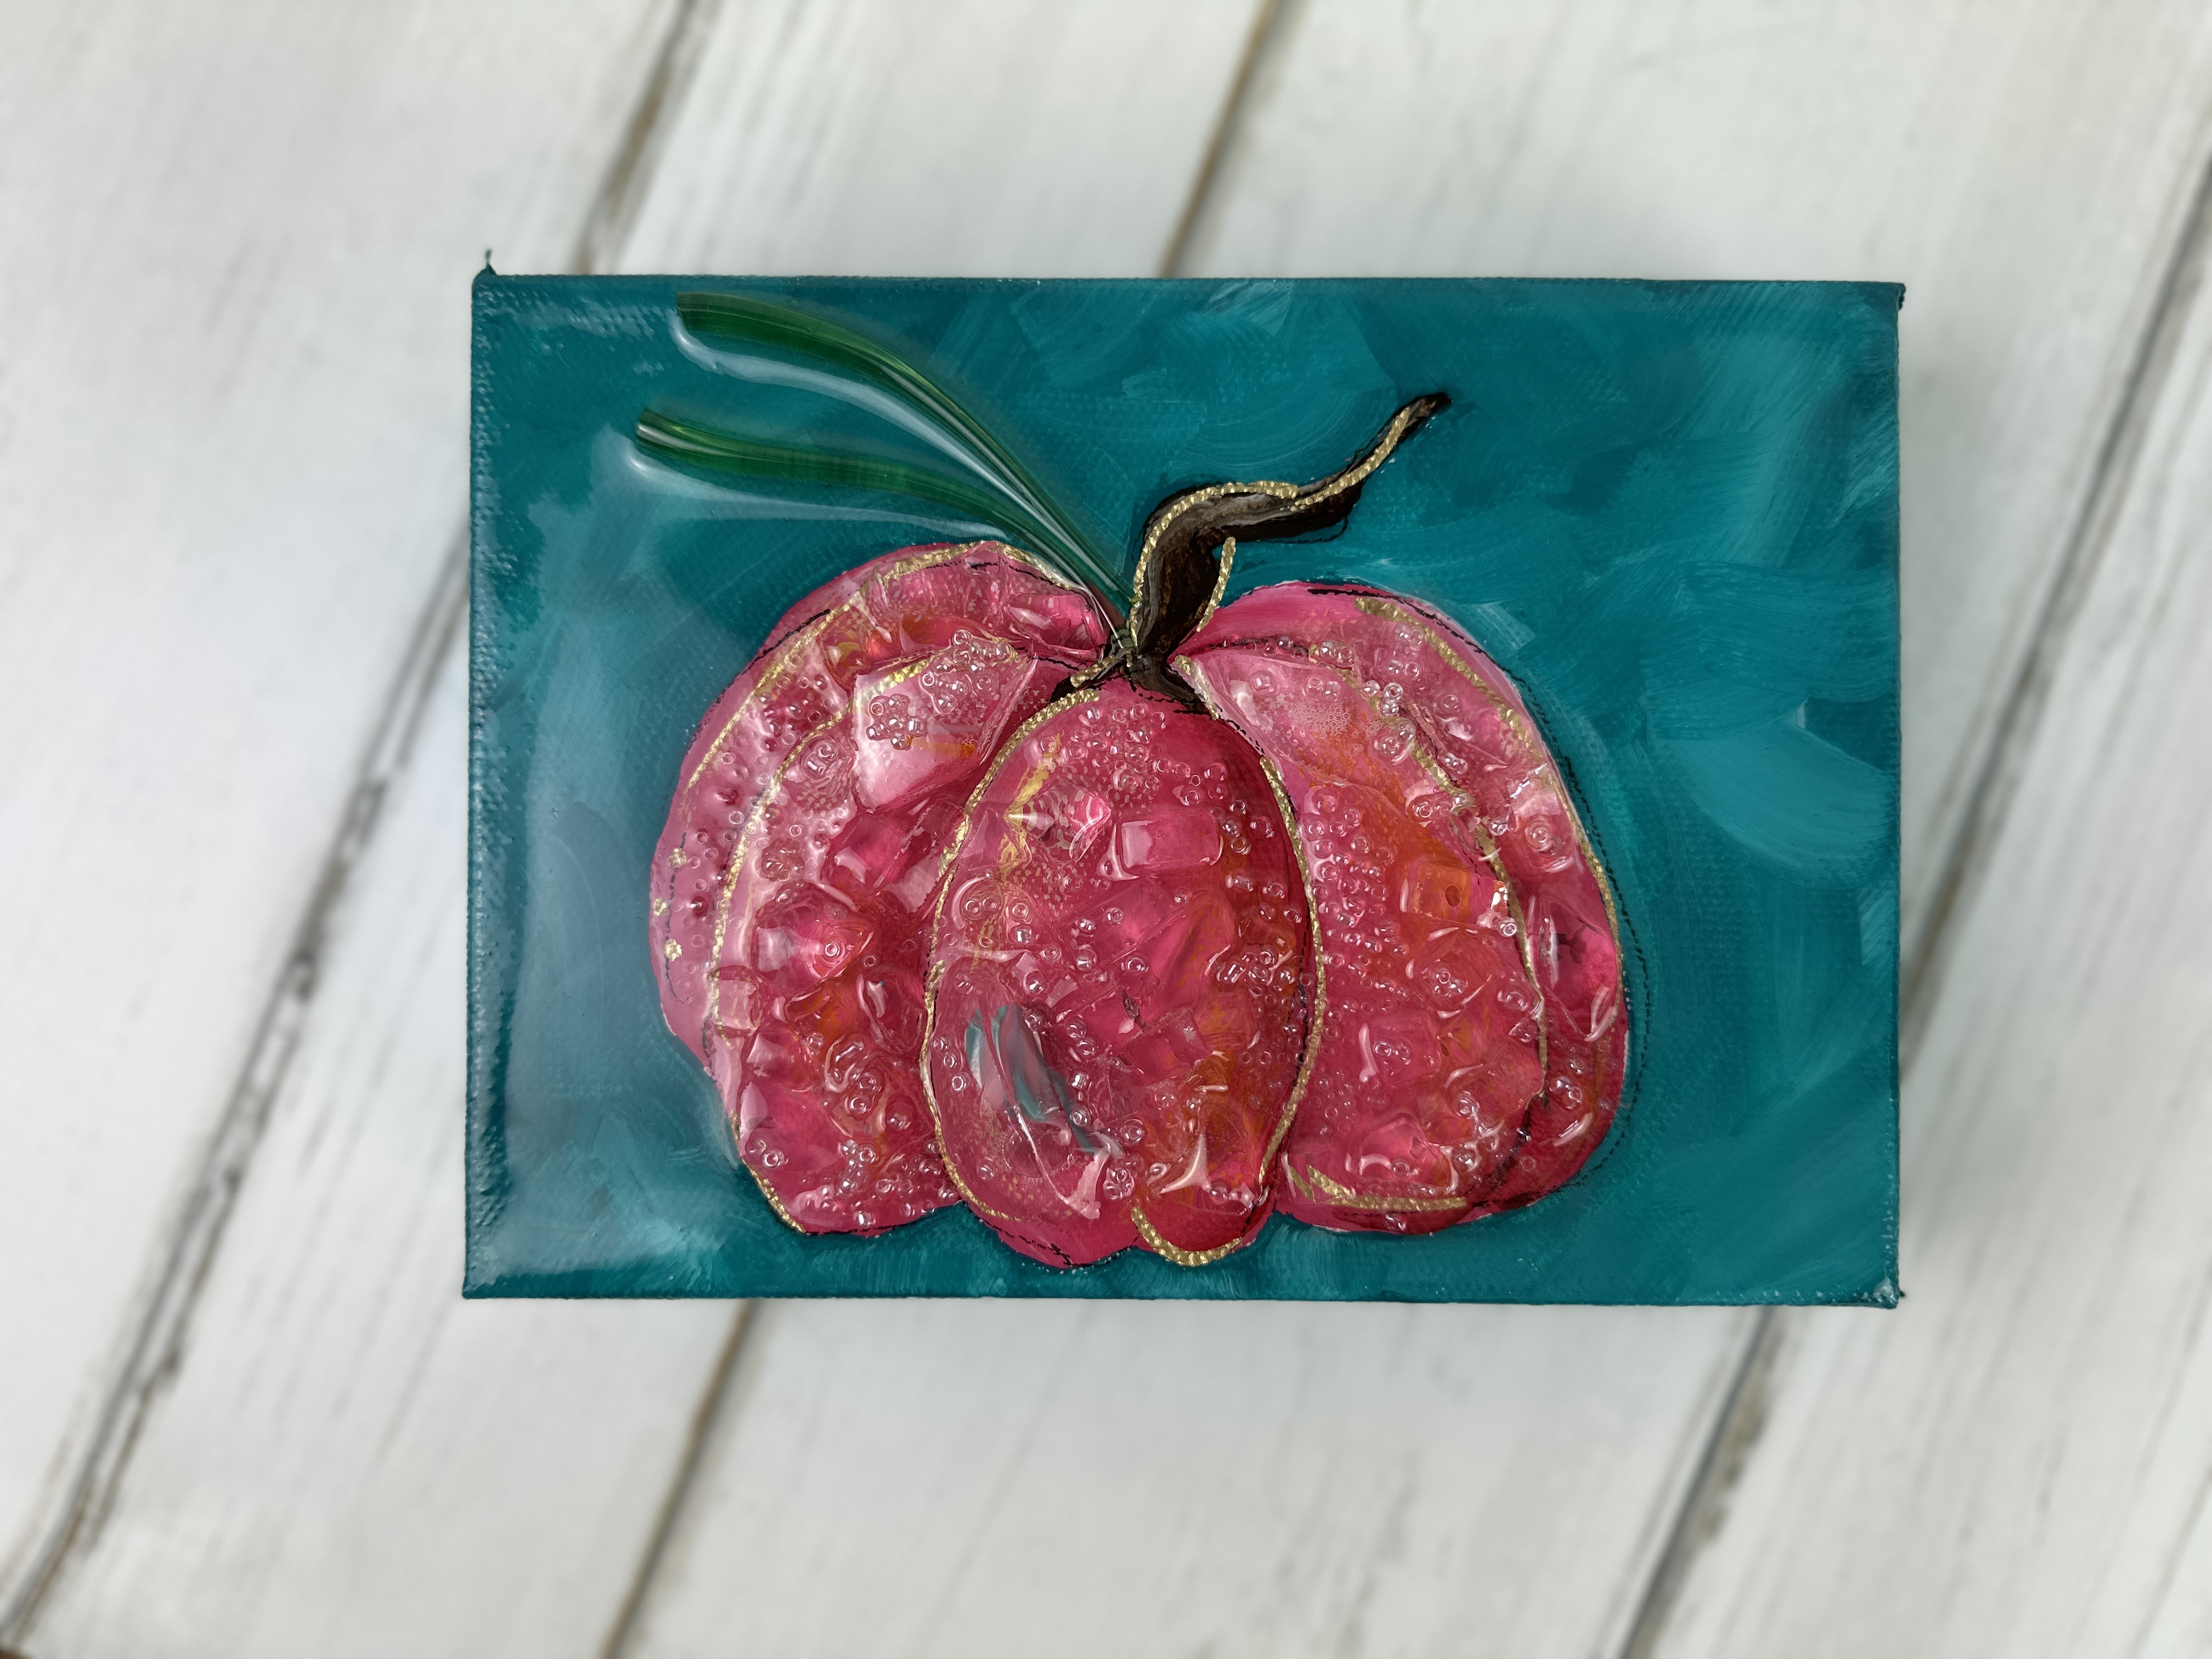
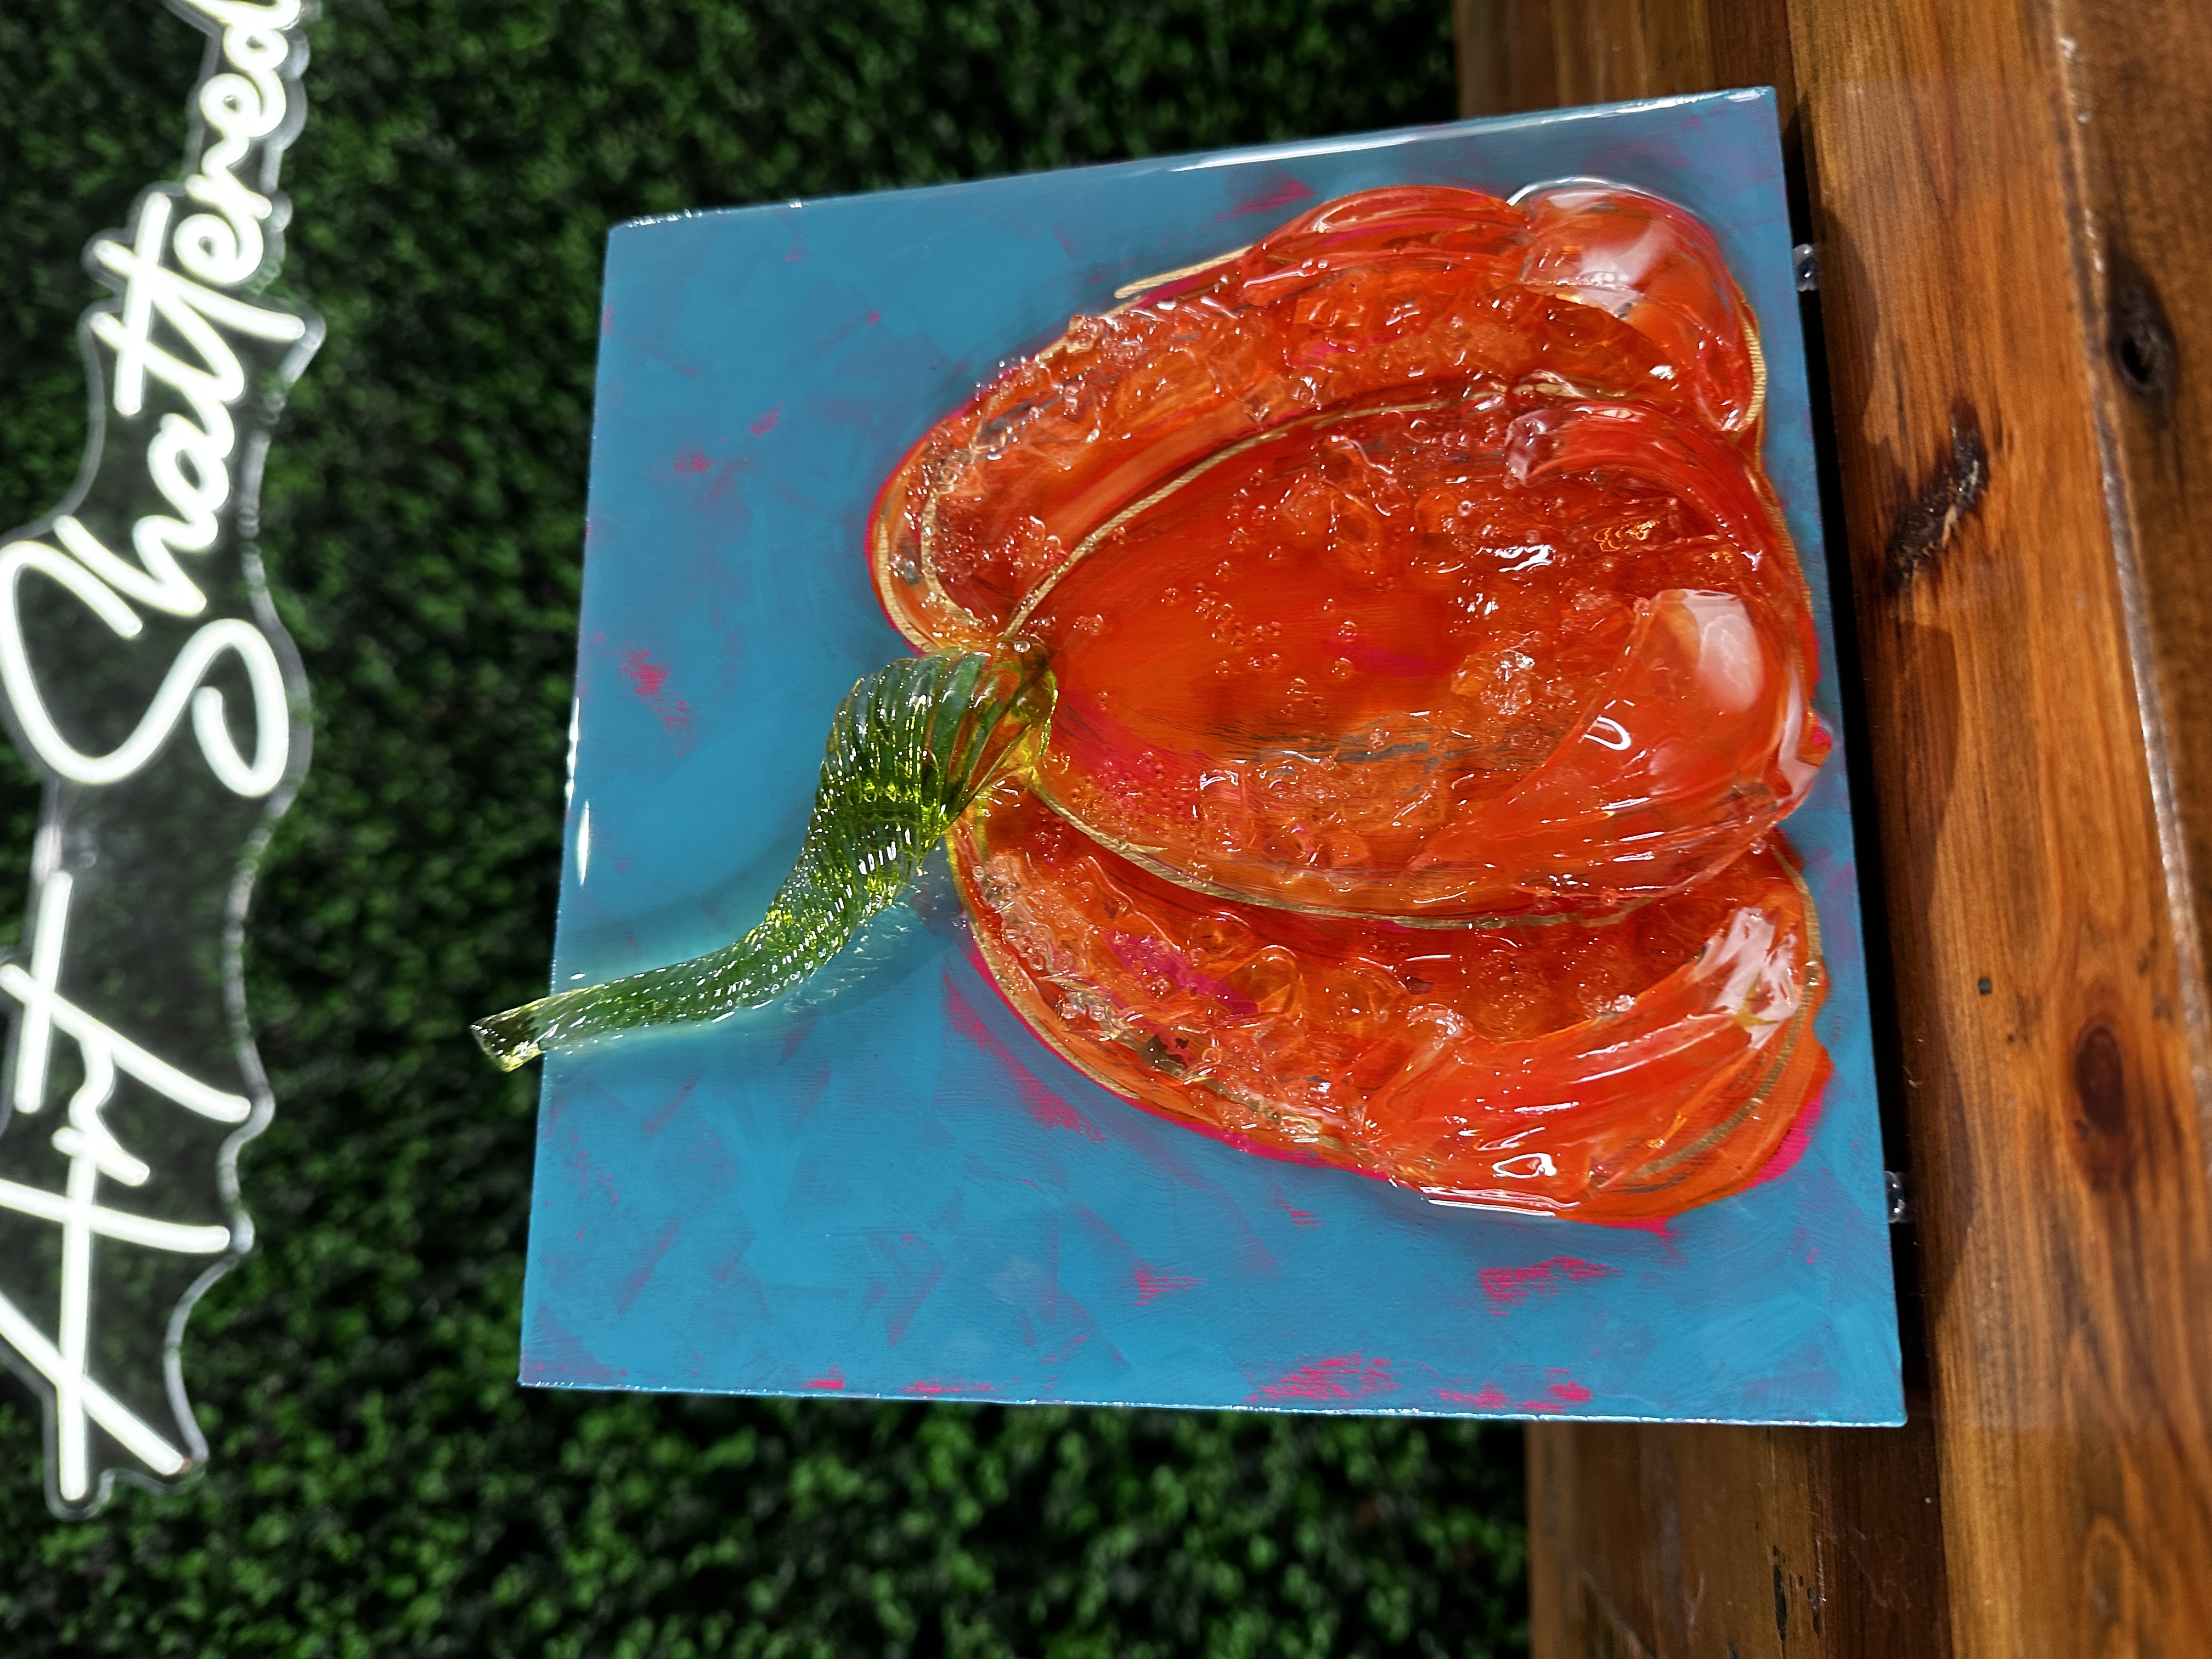
Create a stunning, textured pink pumpkin canvas with this step-by-step guide! We’ll start by tracing our pumpkin and painting it in soft shades like Vintage Pink, Teaberry, and Summer Peach for a beautifully blended look. Then, we’ll add a turquoise background, delicate gold details, and even a bit of sparkle with glass and resin accents.

Grab your tracer, tape it to your canvas, place graphite paper underneath, and trace your pumpkin with a stylus. 

I’m using three beautiful shades of pink on my pumpkin: Vintage Pink, Teaberry, and Summer Peach. We’ll work on each section one at a time for a soft, blended look. Start with the large center section by painting it in Vintage Pink. Next, add Teaberry to one side and Summer Peach near the top. Blend a touch of white paint in the middle for dimension. Repeat this technique for each section around the pumpkin.

Next, paint the stem with Traditional Burnt Umber. I'll also add white paint on...

Continue Reading...

Rustic Pumpkin 🎃

antique fall pumpkin Sep 25, 2024
 

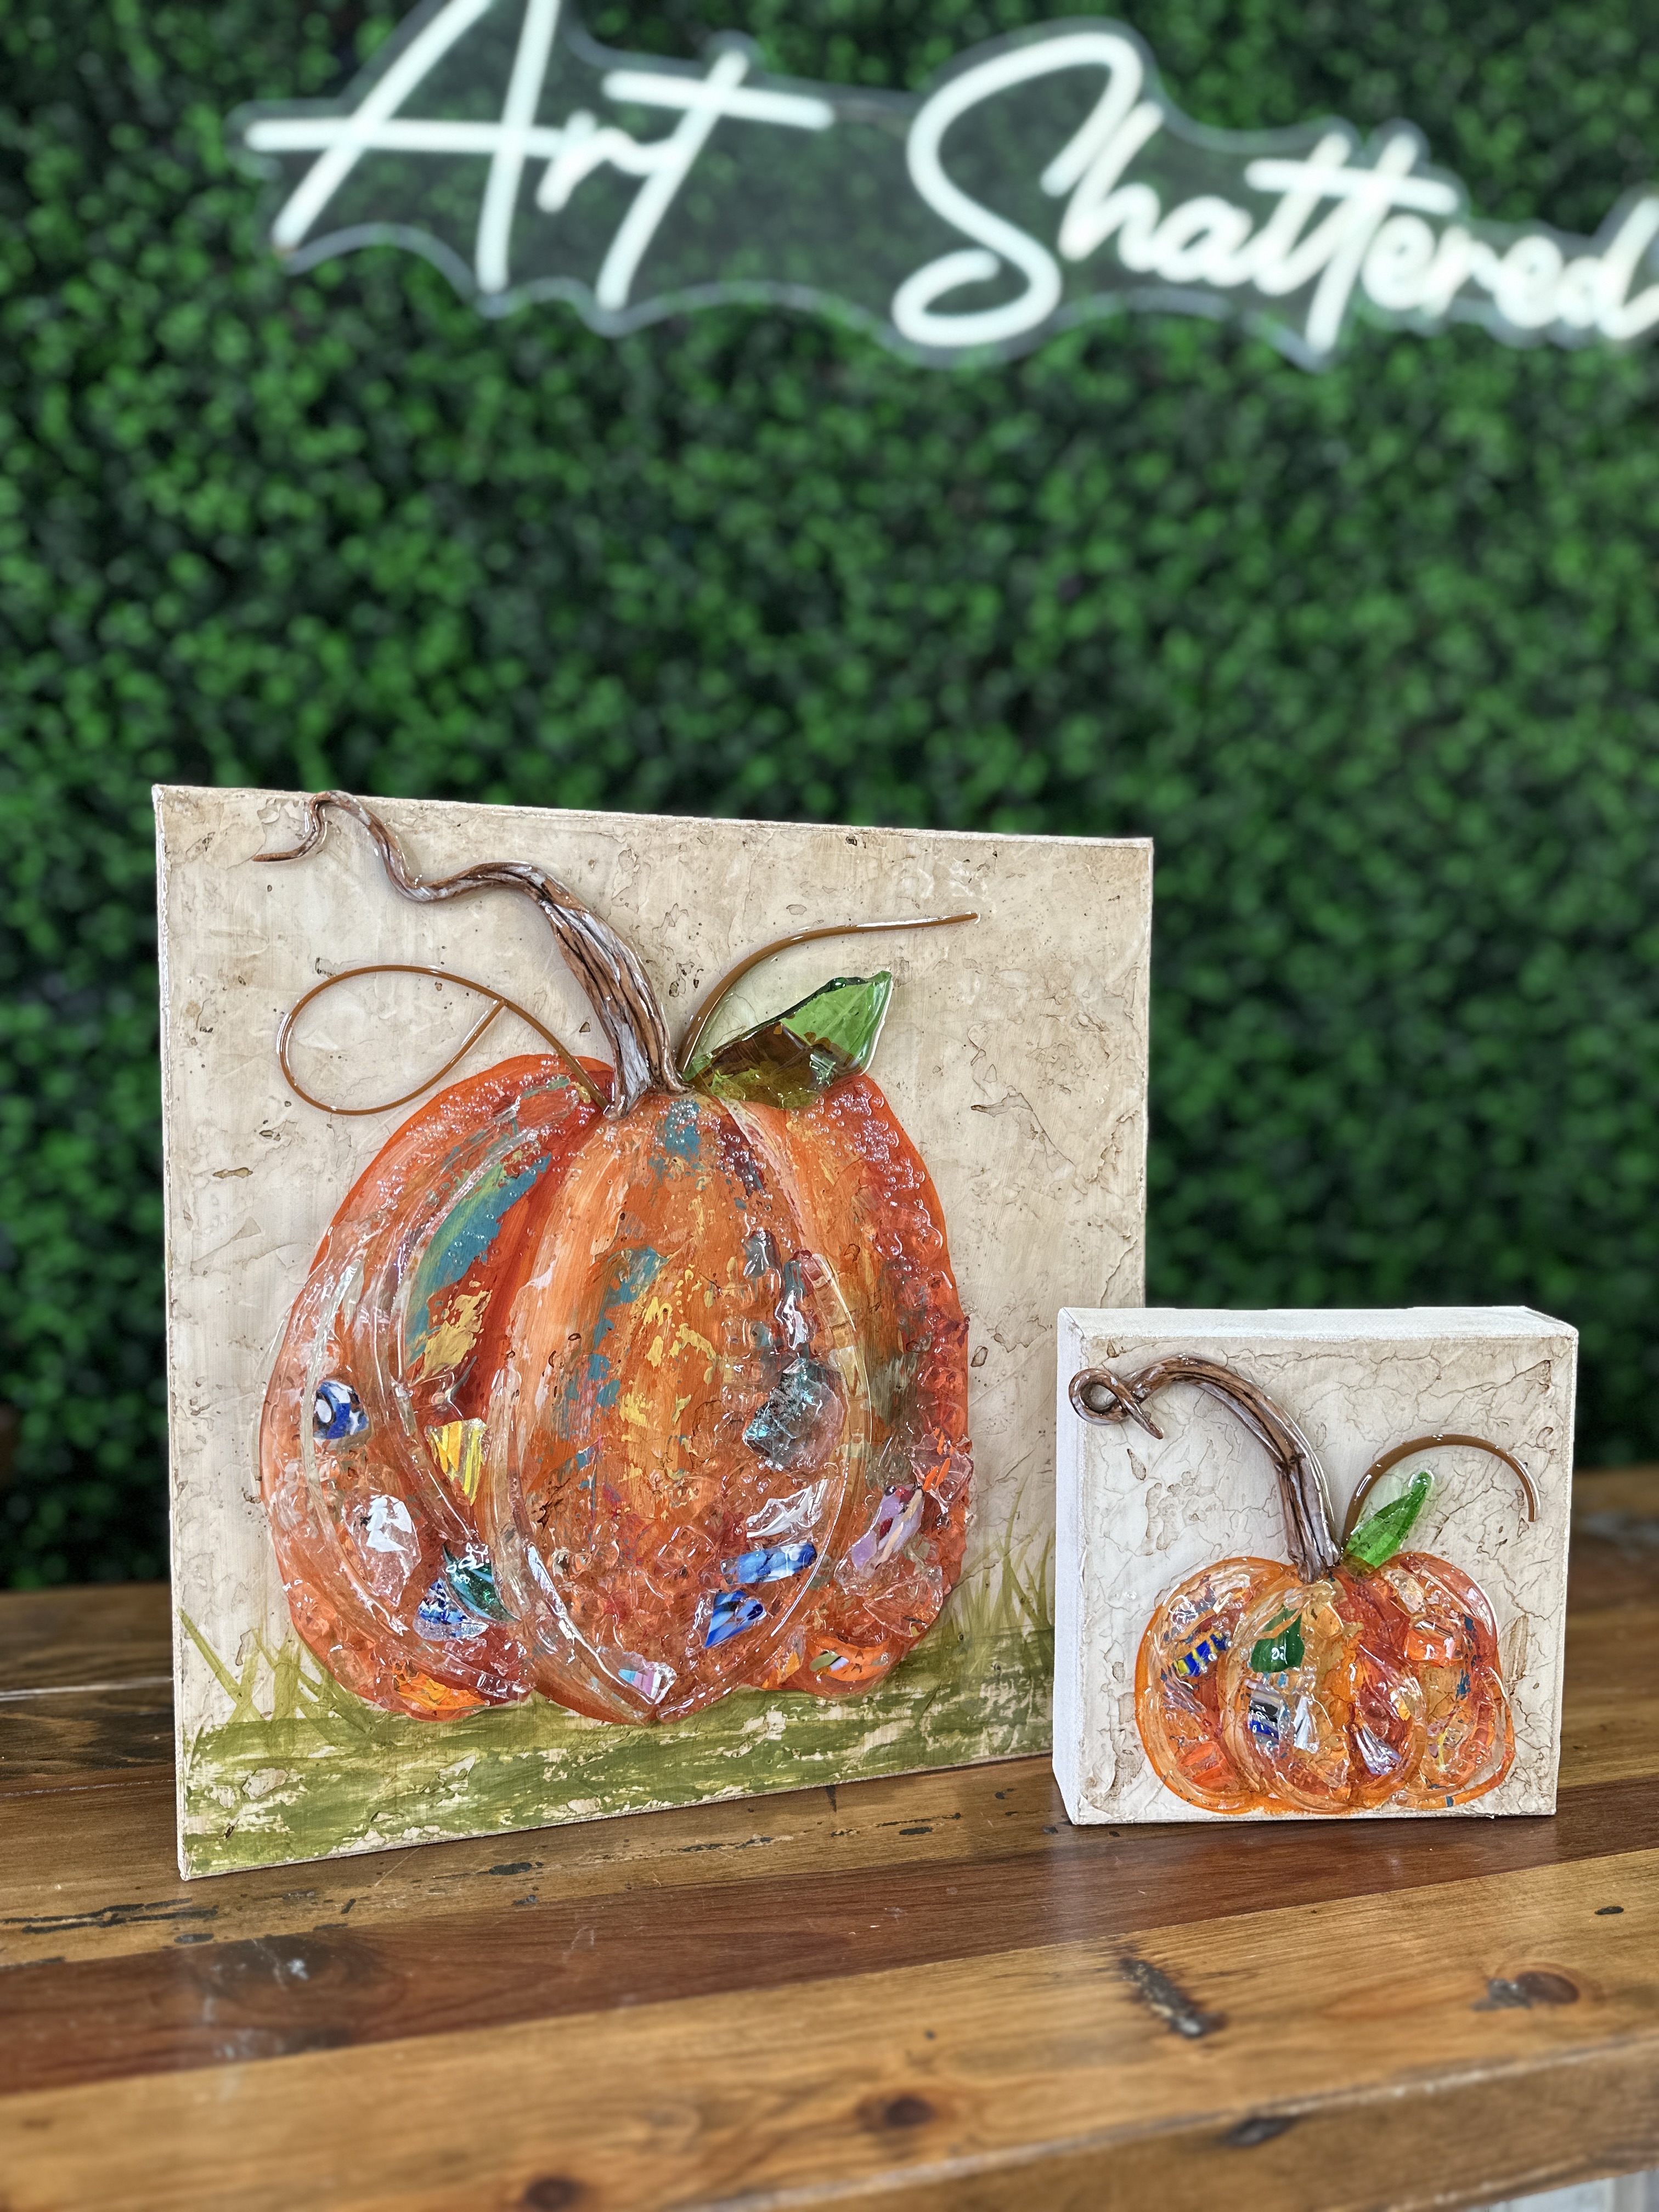
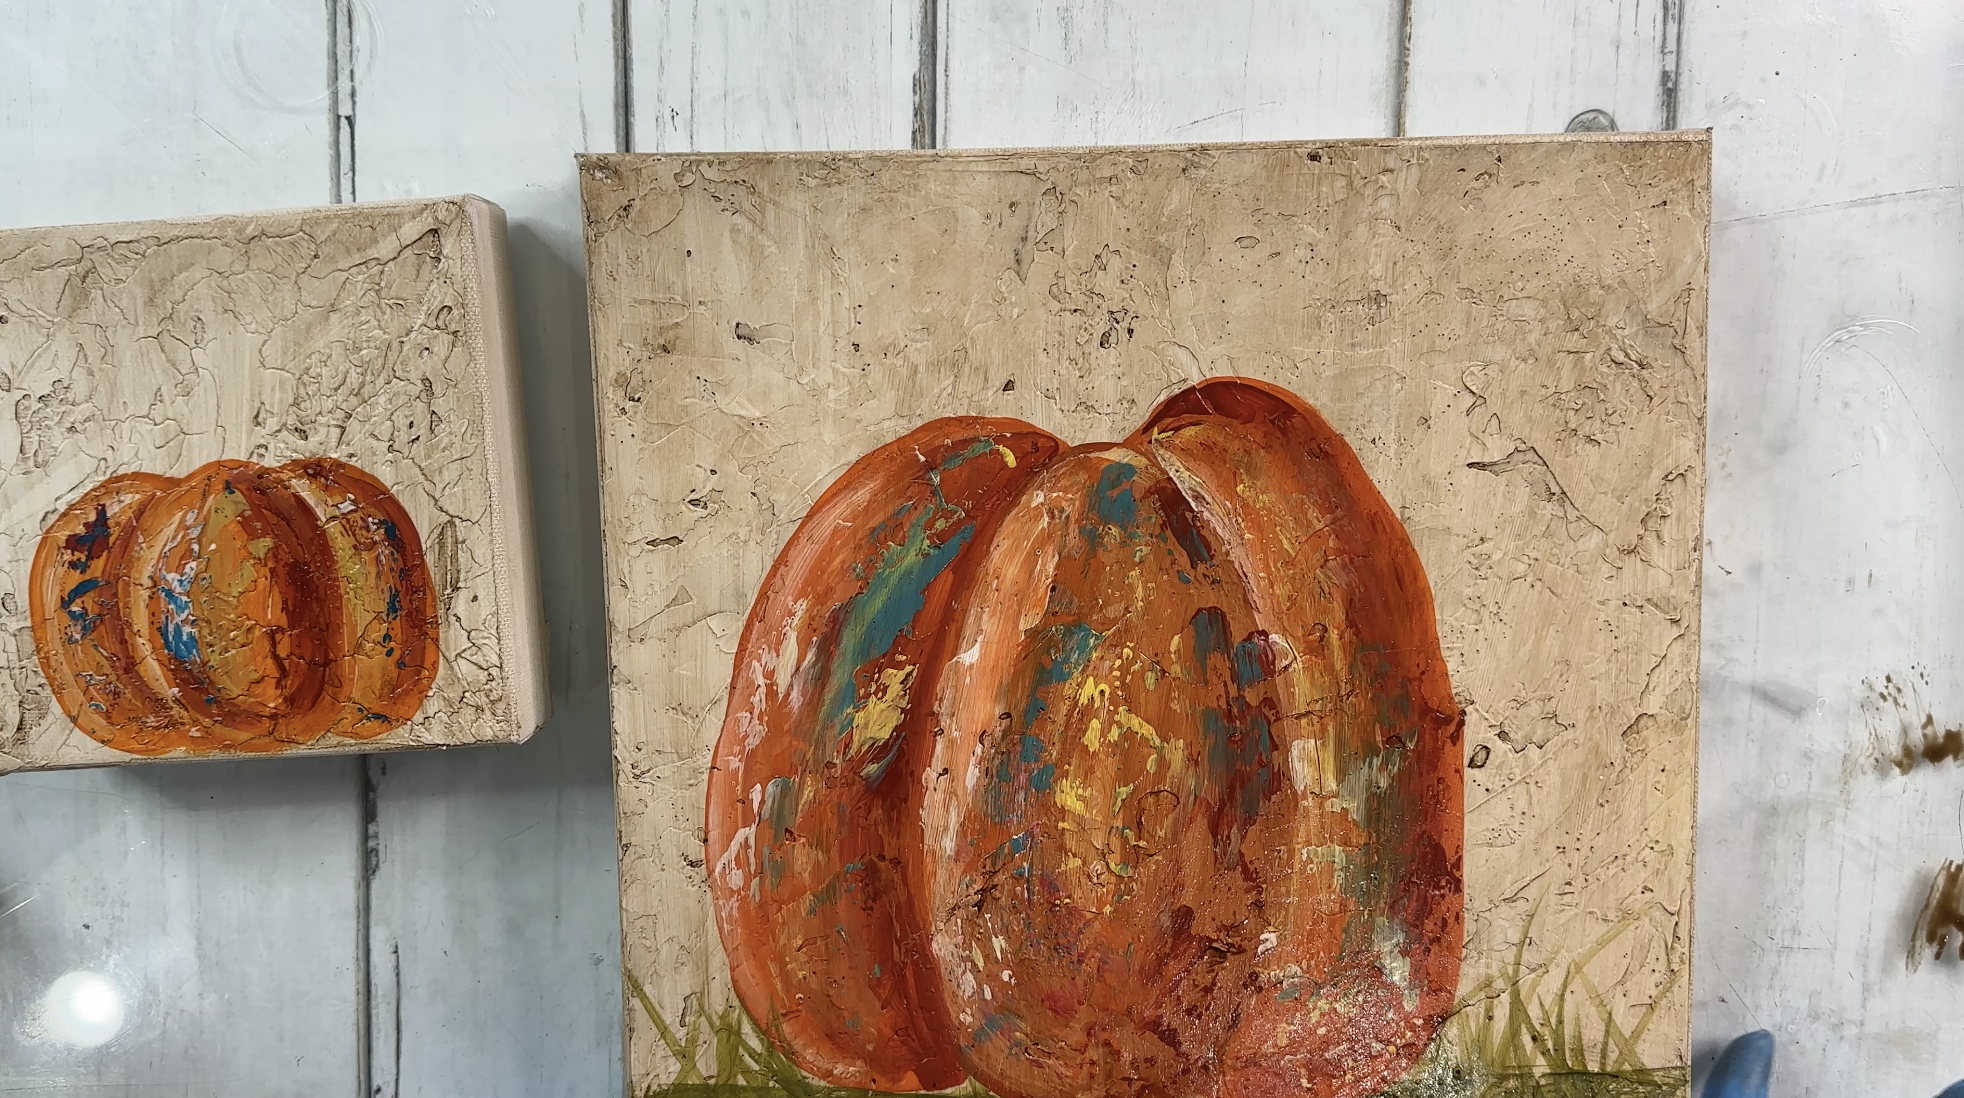
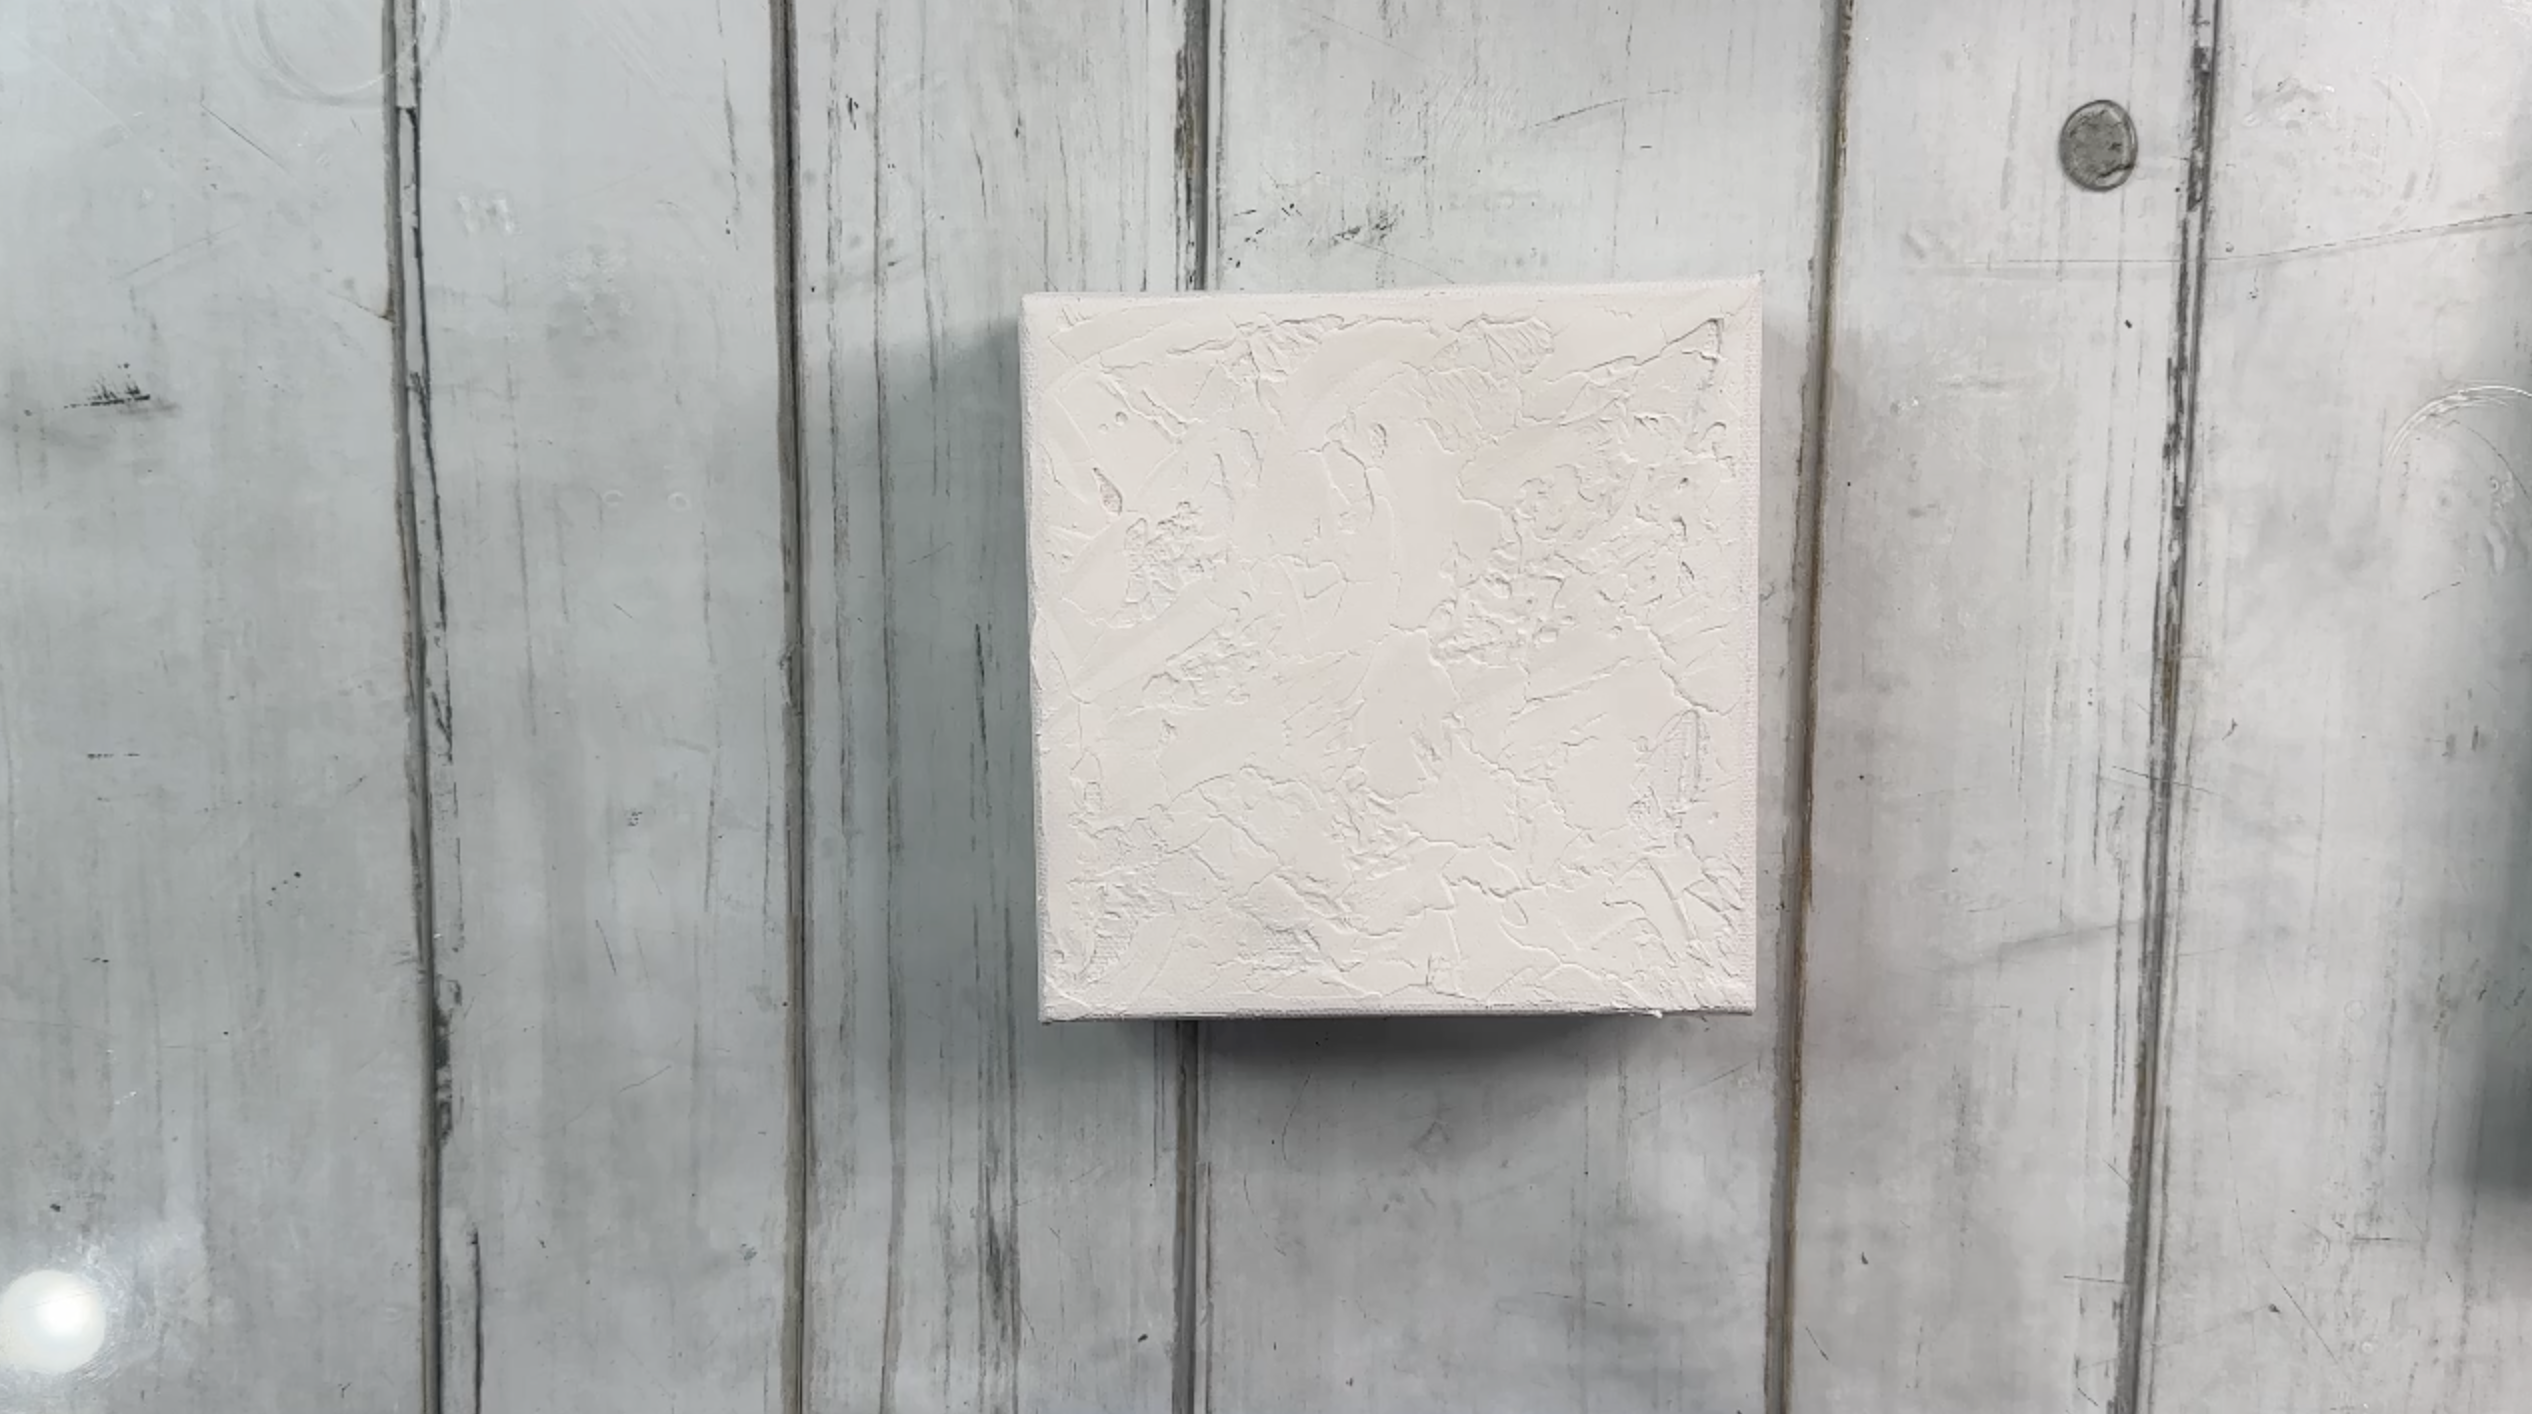
Today, we're diving into a fun fall art project perfect for the season - creating a textured pumpkin on an 8x8 canvas using paint, decoupage, and glass! We'll start by prepping the canvas with rustic decoupage paper and adding a colorful, textured background. We'll embellish it with glass details like clear vase nips and crushed glass for that extra sparkle!

Apply a coat of Mod Podge to your 8x8 canvas and lay your rustic decoupage paper on top. Smooth it down with your hands and dry it with a heat tool. Add another coat of Mod Podge on top to seal the background. Tear off any excess paper and dry again.

Paint the edges of your canvas with Americana Red Spice. I'll also blend in Traditional Burnt Umber for a more messy and textured look. Dry with your heat tool. I'll come in with a 1/4-inch brush and add some spots of Spa Blue paint on the edges too. 

I want to create a surface for my pumpkin to sit on. About an inch above the bottom of your canvas, use a sponge brush to...

Continue Reading...

Foil Pumpkin 🎃

fall pumpkin Sep 11, 2024
 

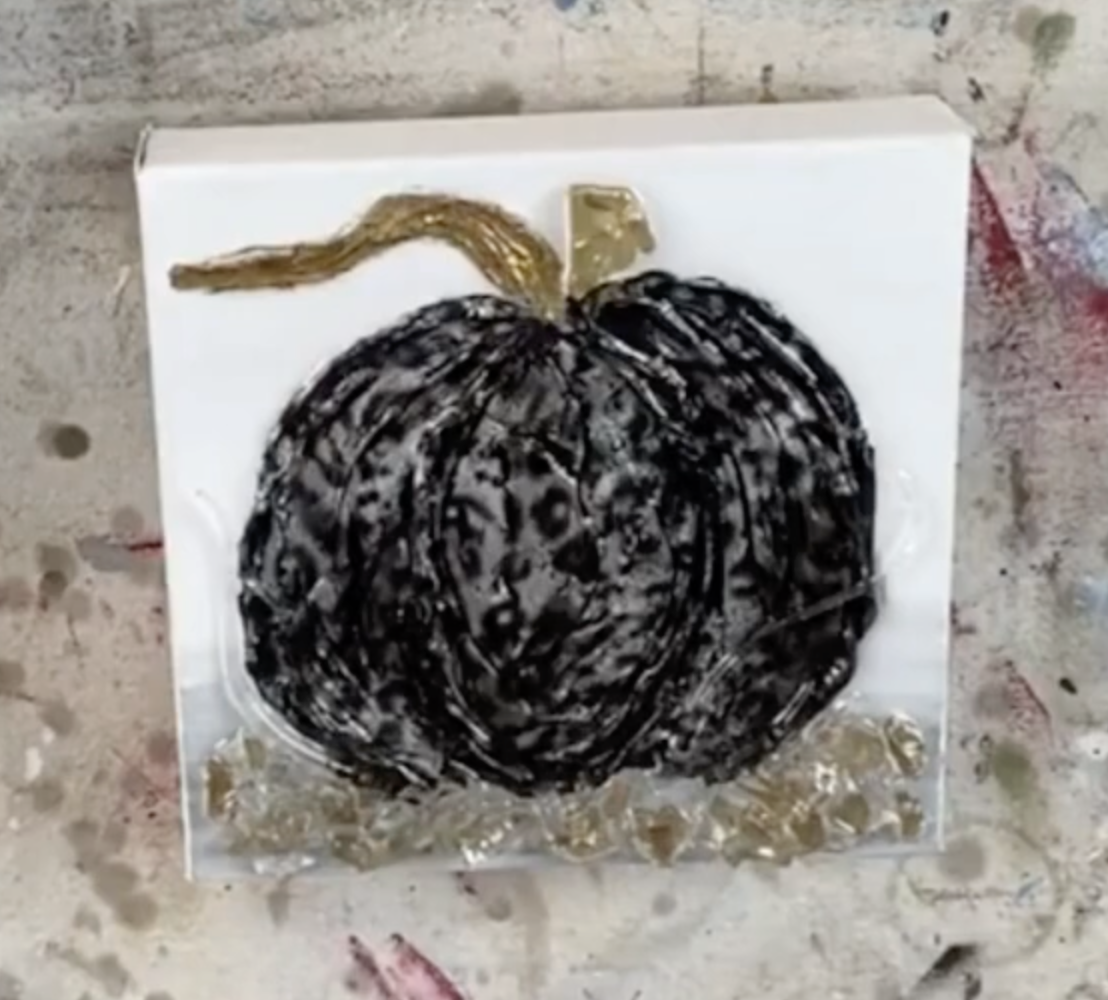
Looking for a one-of-a-kind pumpkin project this fall? We're creating a bold, wild, and totally fun foil pumpkin art piece that combines a mix of vibrant foils, metallic paints, and glass and resin. I’m here to walk you through every step - from tracing your pumpkin to adding those stunning foils and finishing off with a glossy resin coat.

Start by painting your canvas with two coats of black acrylic paint. Then, lightly sand it with sandpaper to create a smooth finish. Let dry.

Grab your tracer, tape it to your canvas, place white graphite paper underneath, and trace your pumpkin with a stylus.

Decide where to place each type of foil on your pumpkin. I will apply a leopard print foil to two different sections, so I'll paint those with Metallic Black acrylic paint. I'll paint the rest of my pumpkin sections with a mix of Metallics Pearl Fruit Punch, Metallics Peacock Pearl, Scarlet (orange), and white paint. I'll also paint the stem with Metallics Festive Green. Dry with...

Continue Reading...

Destin Metallic Pumpkin 🎃 🌊

beach fall pumpkin Sep 04, 2024
 

I'm thrilled to be joined by two incredible guest artists - Christie Hawkins from The Social Easel and Kasey Hope with P'zazz Art Studio. Together, we're crafting textured metallic pumpkins on a 6x6 canvas, perfect for adding a festive touch to your fall decor. Not only are these pumpkins adorable and super easy to make, but I'm also giving mine a unique twist by incorporating beachy elements like mini shells, starfish, Starfire glass, and seed beads. 

We are going to use modeling paint to create a textured pumpkin! Load a palette knife with modeling paste, make a large circle, and then create sections on each side in a "parenthesis" shape. Add your stem as well. Let dry for an hour or two.

I'll paint my pumpkin with Metallic Peal paint and blend in Metallic Ice Blue. I'll paint my background with Metallic Rose Shimmer and use dark pink to go around my pumpkin to create a shadow. I'll also paint the stem with Metallic Gold. 

Take the flat side of your brush and...

Continue Reading...

Black Stenciled Pumpkin 🖤

fall pumpkin Nov 08, 2023
 

I am doing one last pumpkin - and this one is going to be black with some pretty stenciling, painted leaves, and lots of glass goodies! I am adding a stunning glass stem along with some Starfire glass, seed beads, and bubbles. The stencil really pops on this pumpkin, and it's the perfect fall project!

We will start by painting a nighttime background on our 10x10 canvas. I am using a 1-inch paintbrush and adding white paint to the middle in a circular motion and then adding some Buttercream paint and black paint too. Dry with a heat tool.

Grab your tracer, tape it to your canvas, place graphite paper underneath, and trace your pumpkin onto your canvas with a stylus.

Next, add a basecoat of black paint to your pumpkin, painting each section at a time. Add some white paint to the right side of each section to create a highlight and some Metallic Amethyst to the left side. Dry with a heat tool.

Now, I'm going to paint some leaves underneath my pumpkin on the bottom....

Continue Reading...

Pumpkin On Wood 🎃

fall pumpkin Nov 01, 2023
 

Let's work with a different kind of surface! Today, we will be creating a pumpkin on a piece of wood - this is a stained 2x4 cut to 6 inches long. We will be adding all of the glass goodies and a super fun glass stem that will make your artwork really stand out! This would make such a great shelf sitter in your home for the fall season.  

I like to stain my entire board and then cut it. This is stained with a dark walnut color - just brush it on, wipe it off, and let it dry. 

For my background, I am going to use a palette knife to apply my paint because I want this to look a little more distressed and rustic. I'm going to use white paint and Forest Moss. Use the flat backside of your palette knife and lightly drag the paint onto your wood with a back-and-forth motion. Dry with a heat tool.

Next, I'm going to sketch on a pumpkin. Make an egg shape and make parenthesis shapes on either side. Pumpkins never look perfect! I'm going to use Honey Brown to paint...

Continue Reading...

Cream Pumpkin 🤍

fall pumpkin Oct 18, 2023
 

We are making a simple and elegant Cream Pumpkin art piece! We will be using some fun green vitrigraph pieces as well as Starfire glass and seed beads to add all of the sparkle. I love the way that this turned out and how monochromatic and neutral the colors came out - I only used five paint colors to make this!

Grab your tracer, tape it to your canvas, place graphite paper underneath, and trace your pumpkin onto your canvas with a stylus.

First, apply a coat of Snow White to your pumpkin. Then, paint the leaf with Forest Moss. Dry with a heat tool.

Next, paint each pumpkin section one at a time. Add a coat of Snow White and then add highlights with Bleached Sand and shadows with Granite Gray. 

Add a second coat of Forest Moss to the lead and then add some white paint for highlights and Avocado Green for shadows. Dry with a heat tool.

Grab a graphic pen and add some detail lines. I am adding short strokes around my pumpkin and leaf. I'll also paint my background...

Continue Reading...

Colorful Textured Pumpkins 🎃

fall pumpkin Oct 11, 2023
 

I grabbed a pack of 9 little canvases (they are 4x4) that I will be using to create little textured pumpkins. This is such a fun and easy fall project, and these little canvases make perfect gifts or shelf-sitters in your home! We will add modeling paste, paint them, add a glazing medium, and then apply resin with seed beads and glass. I love the way each of these colorful pumpkins turned out!

I am going to sketch my pumpkin onto my canvas with a pencil. This will help guide you as you go. These are super simple to draw - sketch a stem, then an egg, and parentheses on each side of your egg. 

Next, I am going to use a little palette knife to apply my modeling paste. Start with the stem and use the back of your palette knife to add the paste. Then, continue adding plaster to one section of your pumpkin at a time. Let this dry overnight.

Now, you can paint your pumpkins! I am going to start by painting my first one with Dragonfruit pink. I am going to...

Continue Reading...

Pumpkin Gnome 🎃

fall gnome pumpkin Oct 04, 2023
 

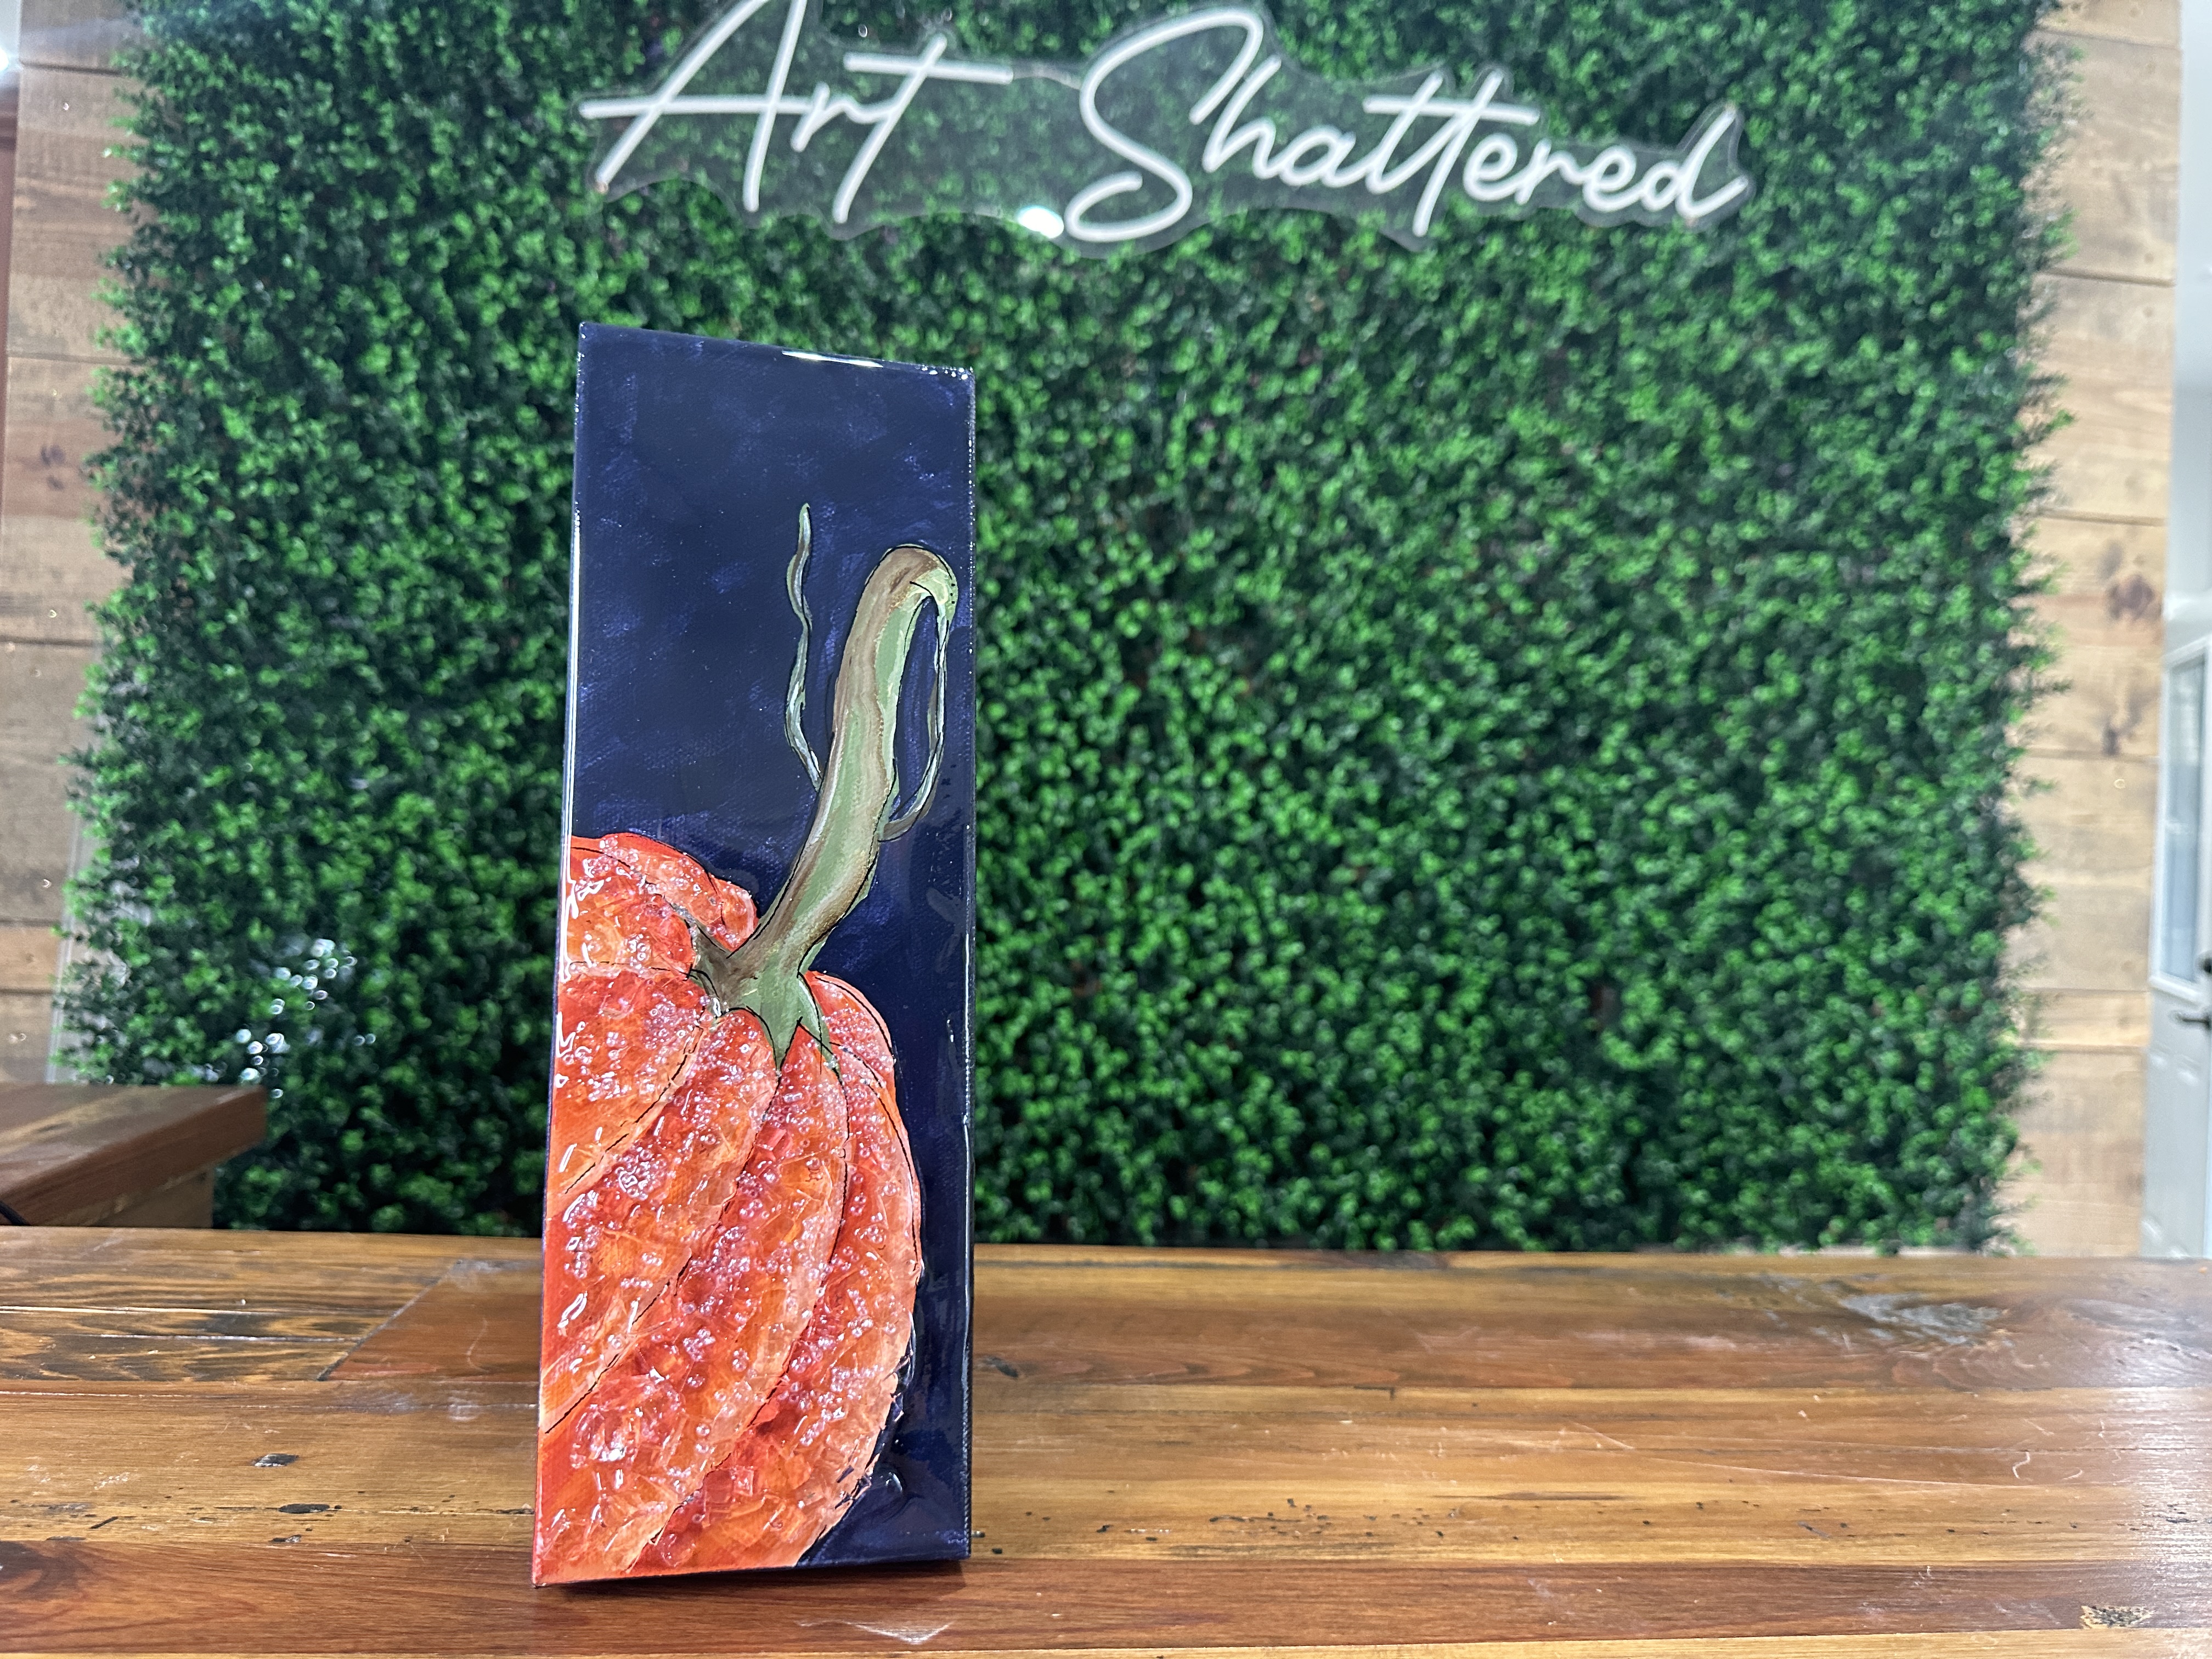
We are doing this fun pumpkin gnome on a 4x12 canvas! This is the perfect fall art piece to create for a gift or some festive home decor. I will show you step-by-step how to paint this gnome from start to finish! Learn how to create this quick and easy gnome art piece.

Grab your tracer, tape it to your canvas, place graphite paper underneath, and trace your gnome onto your canvas with a stylus.

I am going to start by painting his beard. First, add a coat of white and then mix in some black to create a gray beard. Then, paint his hat and shoes with black paint. Paint his hat brim and pumpkin with orange paint. I'll also mix in some yellow and black to my pumpkin to create some shadows and highlights. Use brown paint for the stem. Finally, I'll use Cool Bisque (a peachy color) to paint his nose and hands.

Now we will add our details! Where the hat bends, I am going to add some highlights with white paint. Then, I'll paint a little patch with green and yellow paint with some white...

Continue Reading...
1 2
Close

50% Complete

Two Step

Lorem ipsum dolor sit amet, consectetur adipiscing elit, sed do eiusmod tempor incididunt ut labore et dolore magna aliqua.